

https://merchants.zbx.boomfi.xyz/dashboard/account
Some buttons and tabs appear only if your role has the matching permission. If you cannot see one, ask an organisation admin. See Team and Roles.
Assets
The Assets tab lists every asset in your account.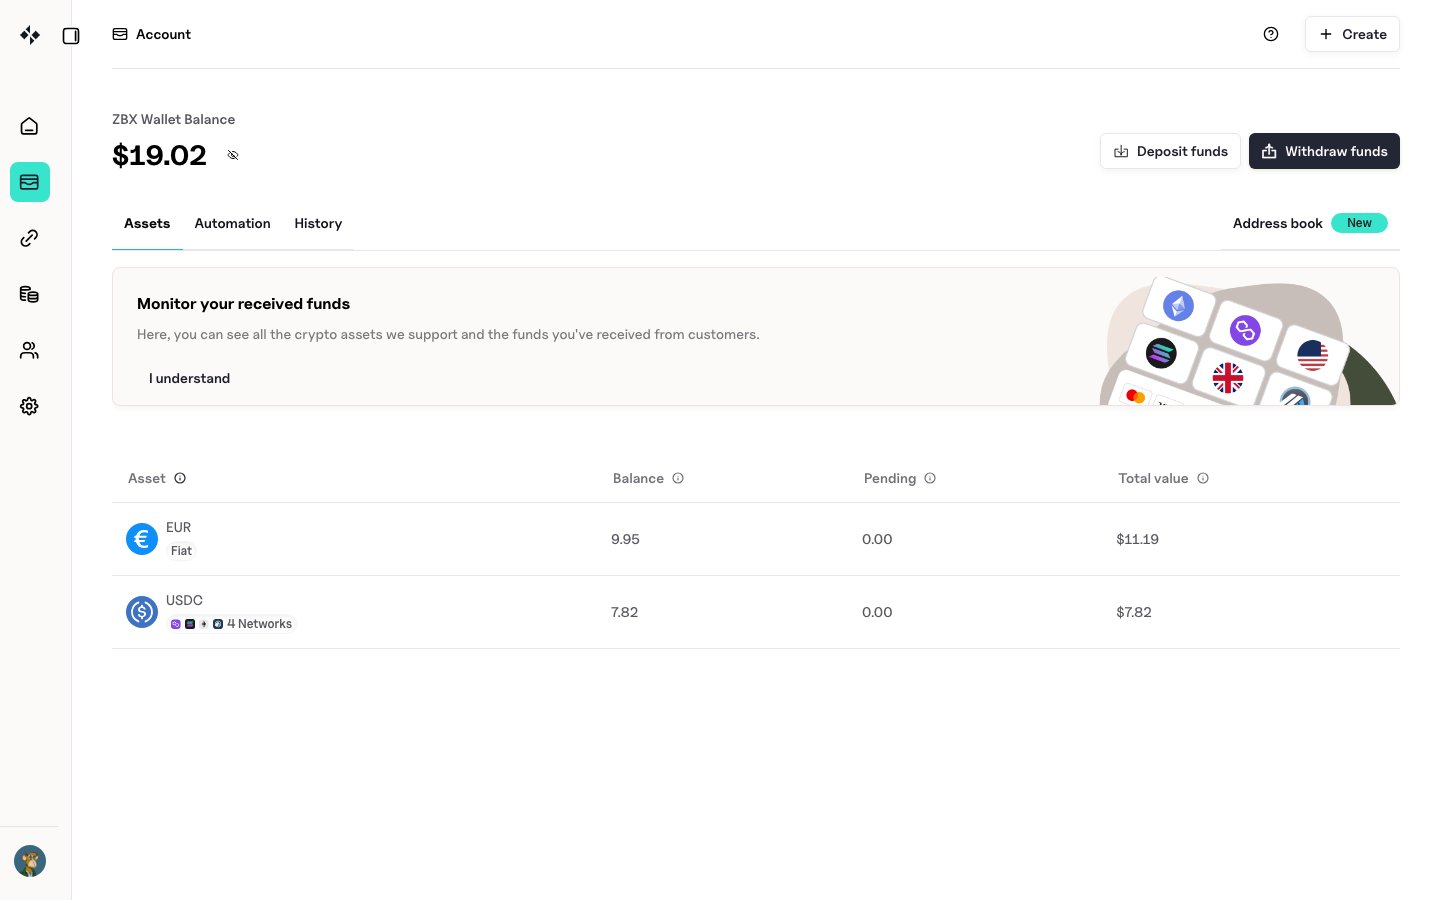
The total at the top adds up all assets. Select the eye icon next to it to hide or show the amount.
Open an asset
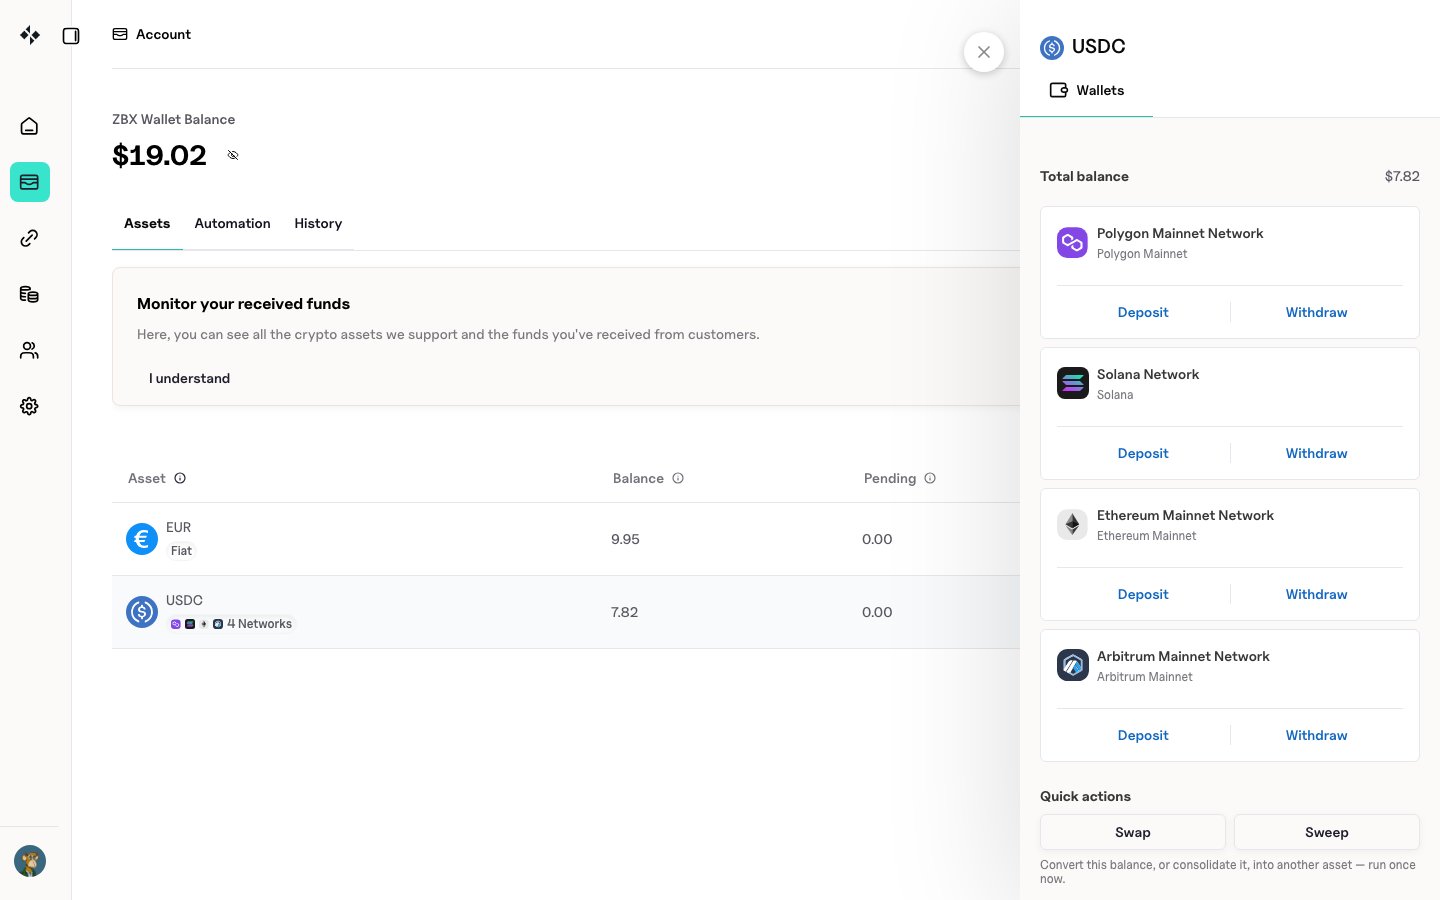
Select a row to open the asset panel. It shows:- The total balance for the asset.
- A card for each network the asset is held on, with Deposit and Withdraw buttons that start a deposit or withdrawal on that network.
- Quick actions: Swap and Sweep. Both run once, right away.
Swap an asset
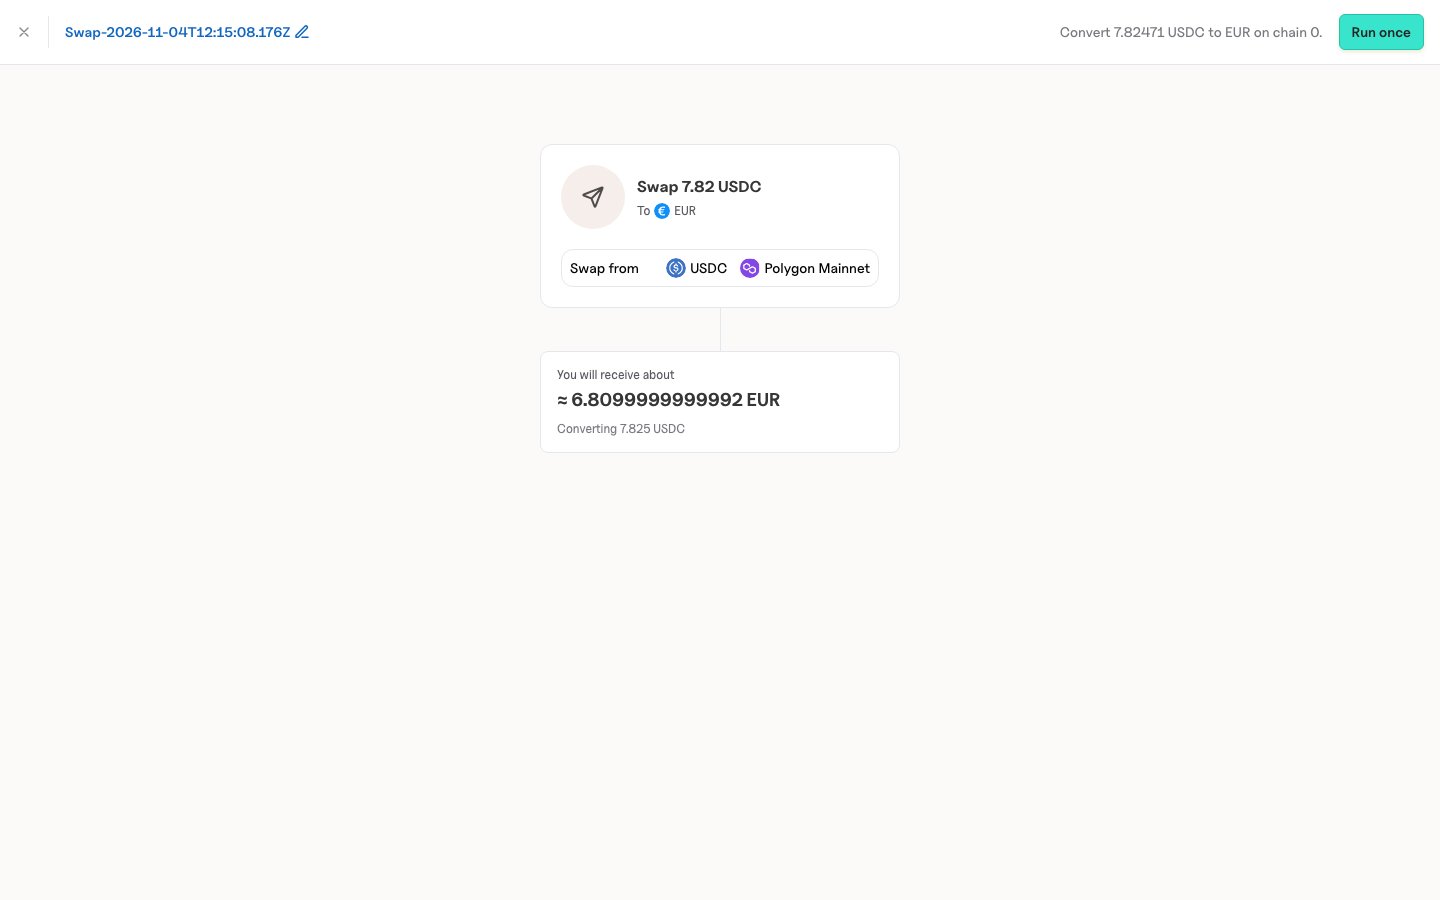
Swap converts the asset you opened into another asset, once. To swap on a schedule, use an automation.- Open the asset and select Swap.
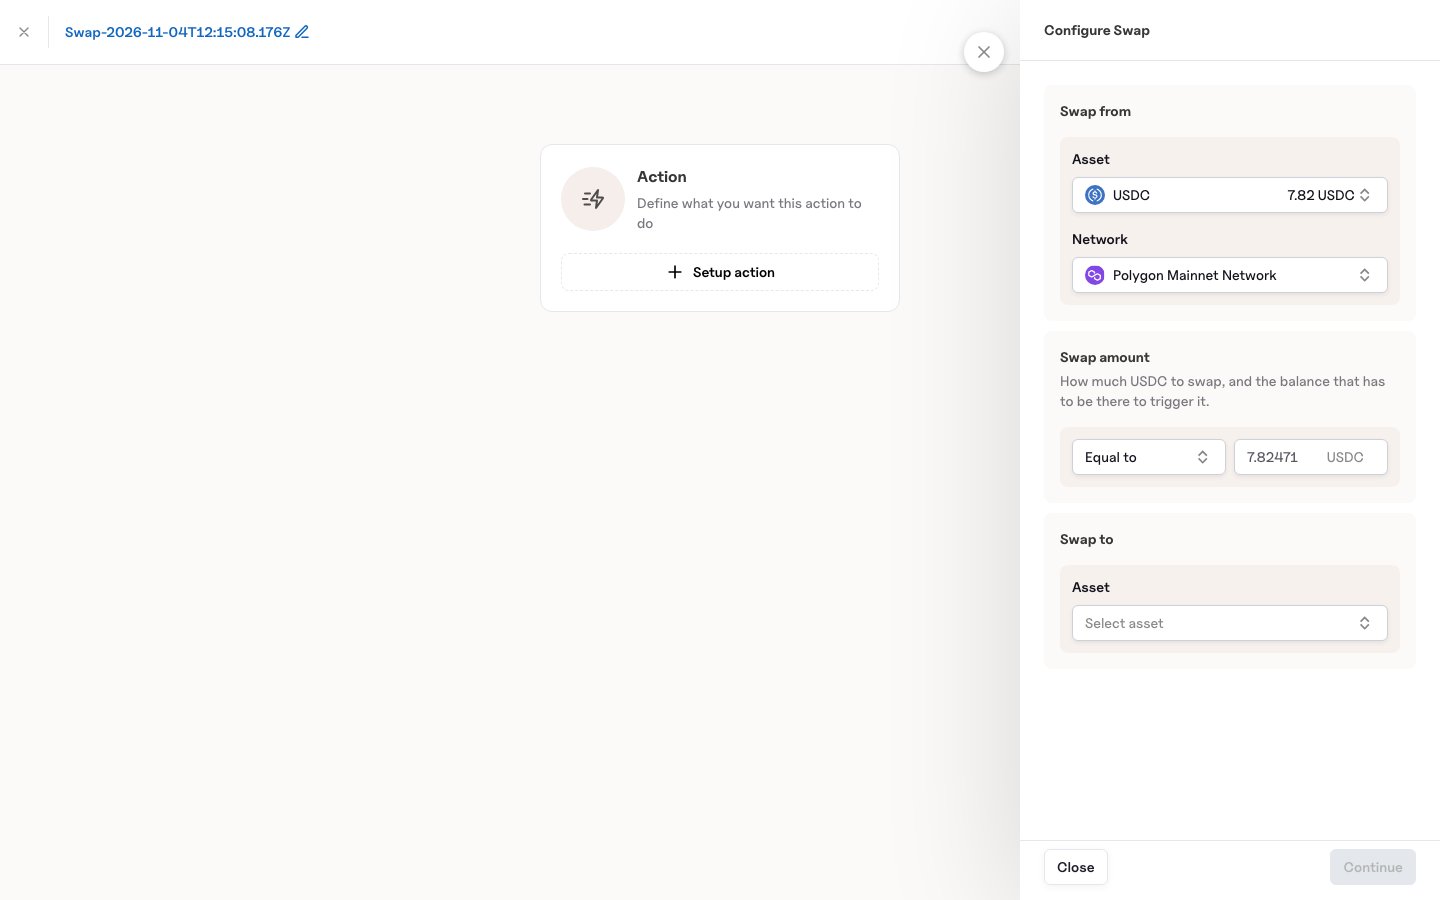
- Check the pre-filled asset and network. The Swap amount starts at your full balance. Lower it to swap less.
- Under Swap to, choose the asset you want to receive. Only assets available for this swap are listed.
- Select Continue.
Sweep an asset
Sweep gathers the same asset from all of its networks and converts it into another asset, once. The button is disabled when the asset is held on one network only.Deposit funds
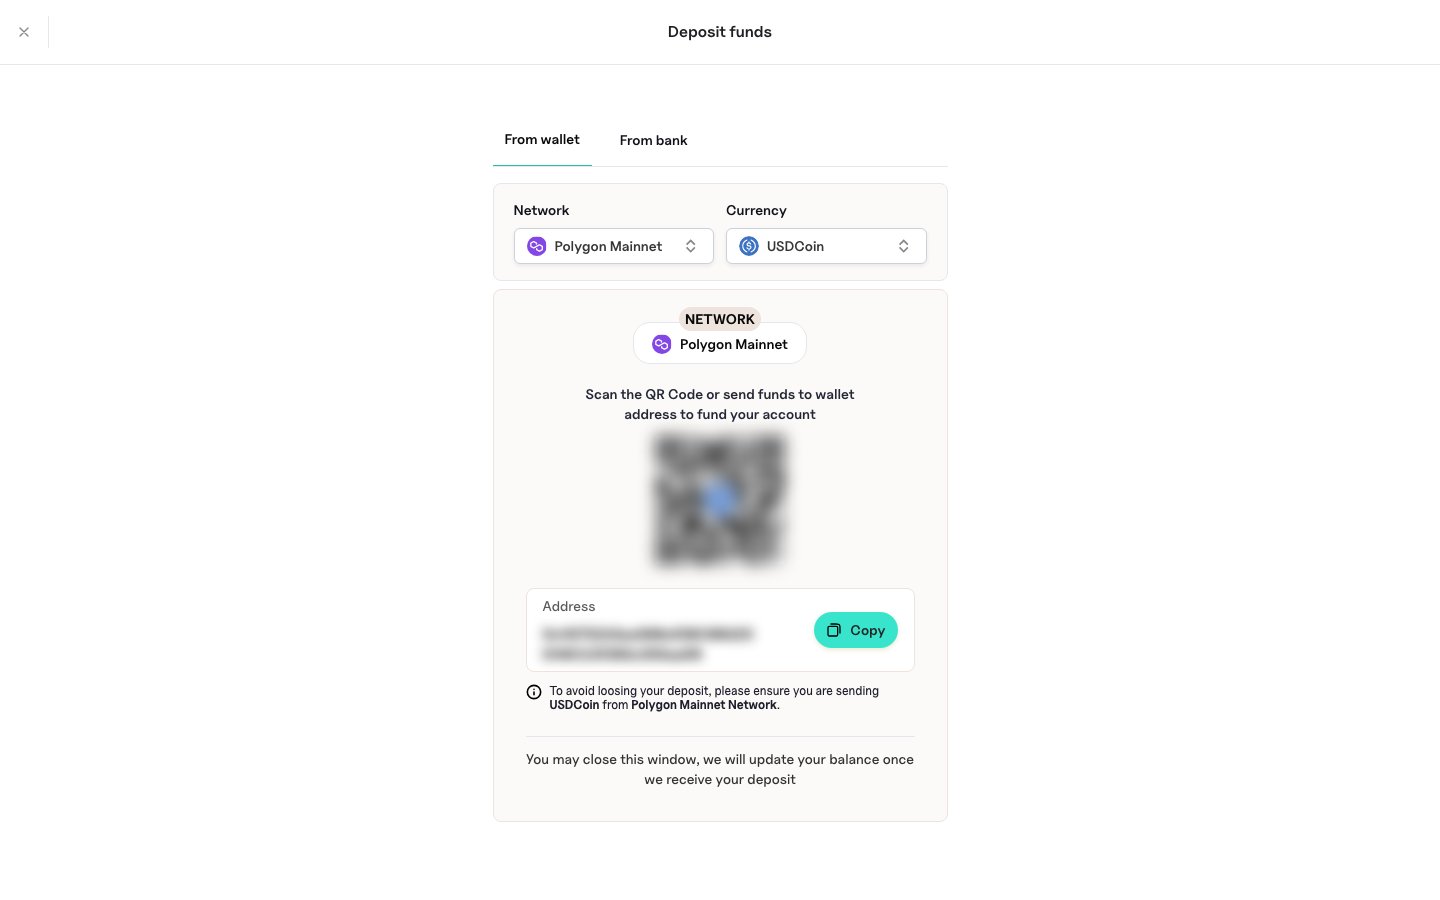
Select Deposit funds at the top right. The From bank tab appears only when your account has bank deposit details.From wallet
- Under Network, choose the network you send from.
- Under Currency, choose the token you send.
- Scan the QR code, or select Copy and paste the address into the wallet you send from.
From bank
Choose From bank to fund the account by bank transfer. The page shows the Account holder, IBAN, BIC / SWIFT, Bank, Bank address, and Bank country. The first three have a copy button.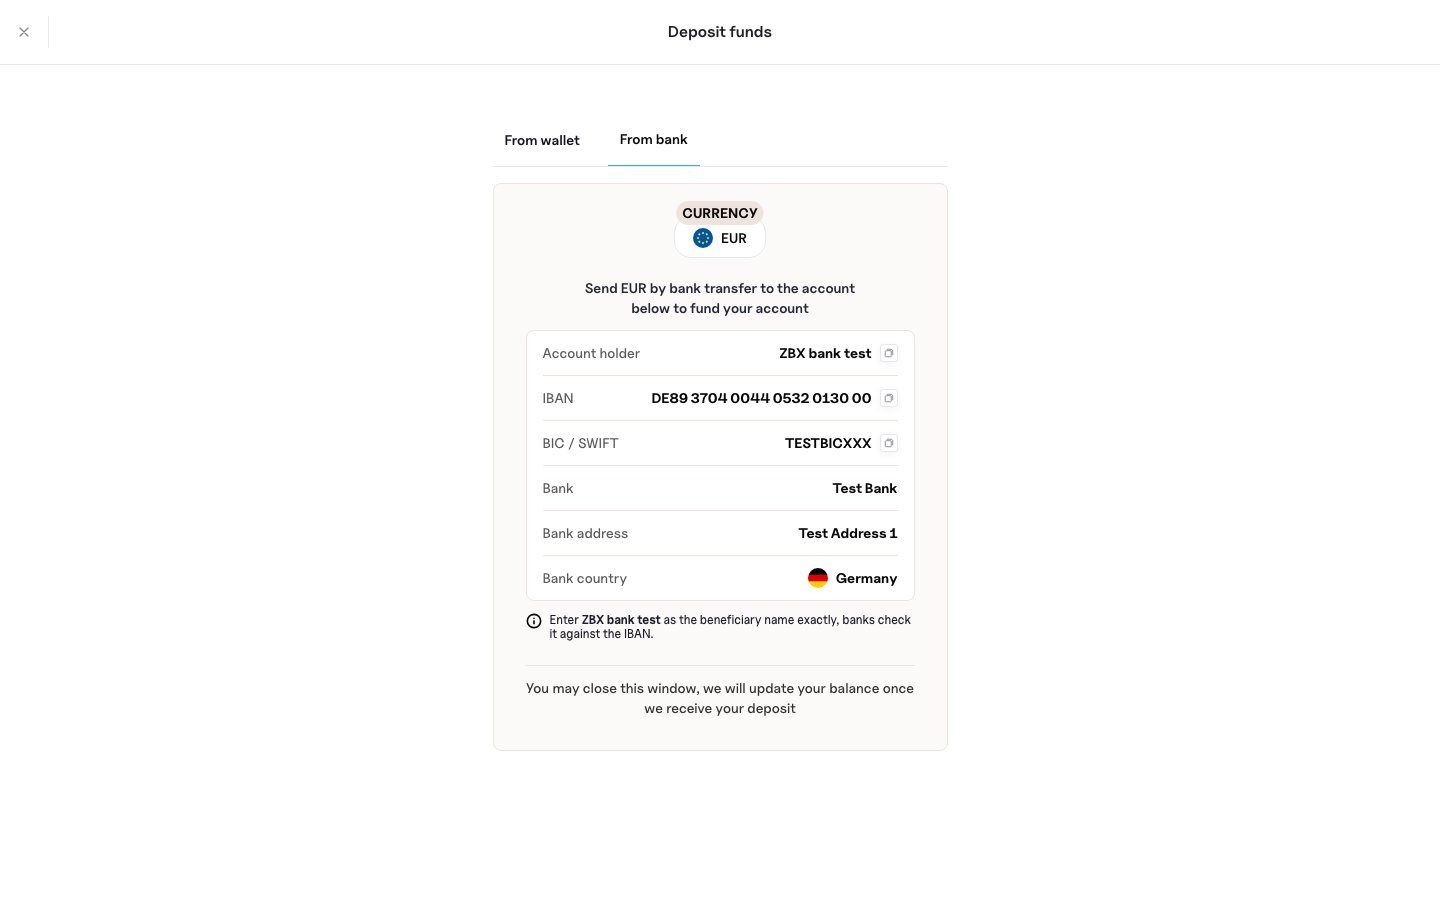
Withdraw funds
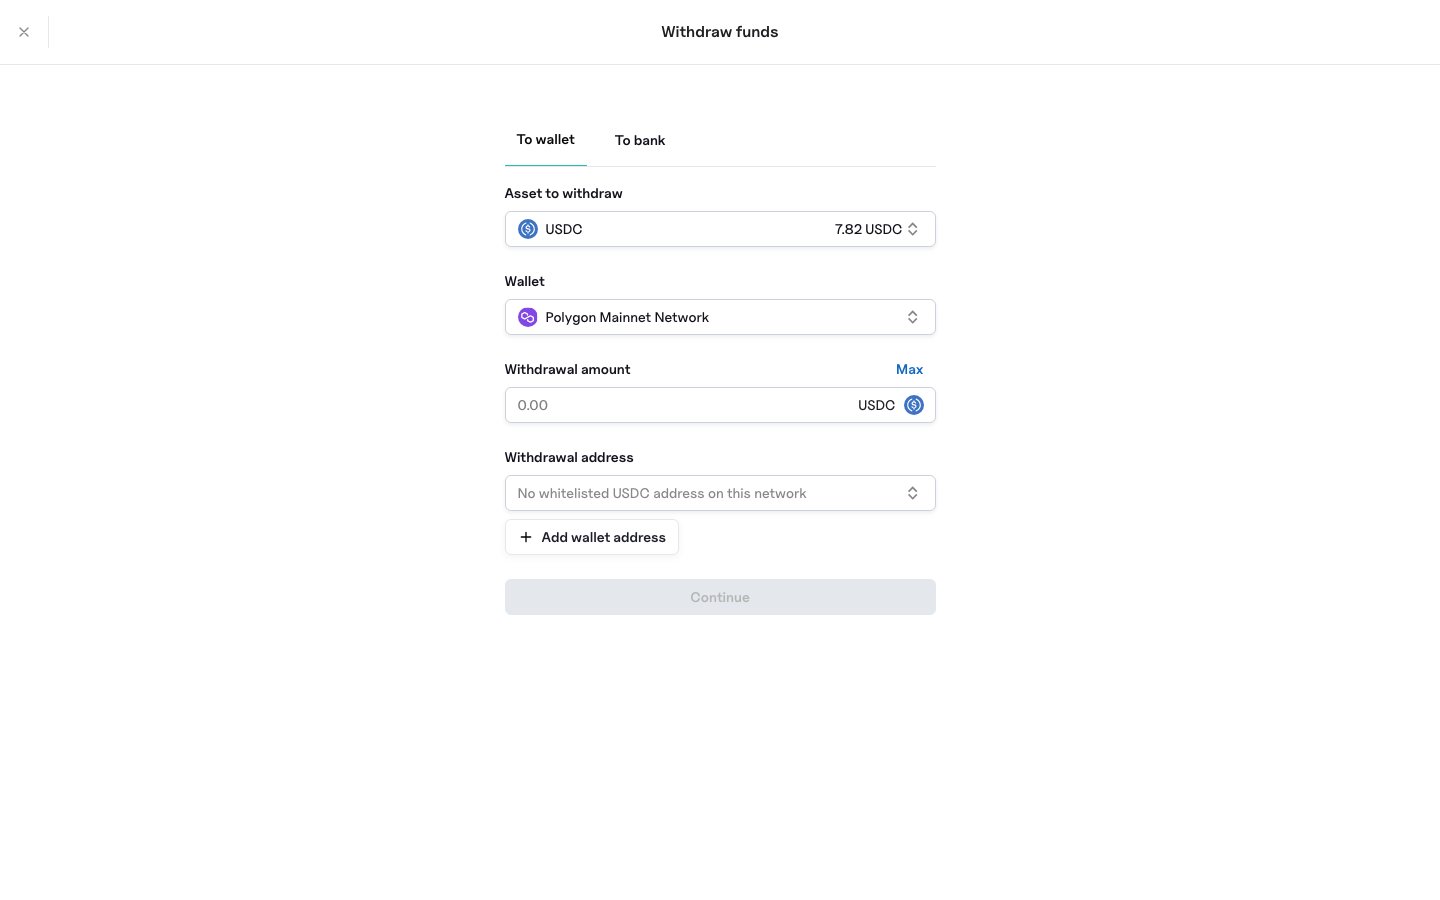
Select Withdraw funds at the top right. The button appears only when the account has a balance and you may withdraw. You can only withdraw to a destination saved in the Address book. Funds cannot go to an address that was never confirmed.To wallet
- Under Asset to withdraw, choose the asset. Balances are shown next to each one.
- Under Wallet, choose the network.
- Enter the Withdrawal amount, or select Max.
- Under Withdrawal address, choose a saved address for that asset and network.
- Select Continue, then review and confirm.
To bank
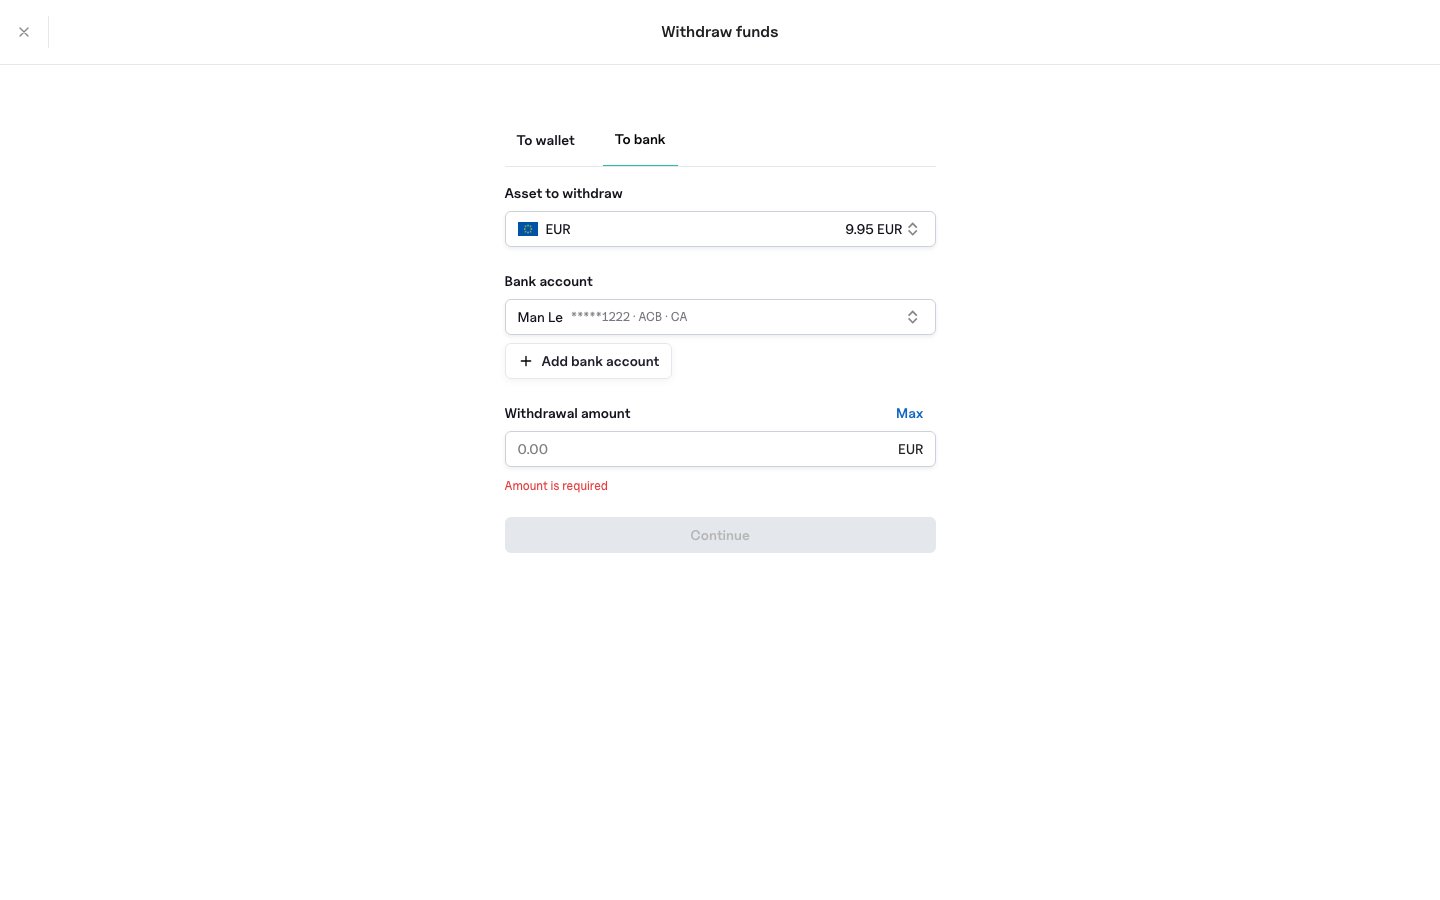
- Under Asset to withdraw, choose a fiat currency such as EUR.
- Under Bank account, choose a saved bank account, or select Add bank account.
- Enter the Withdrawal amount, or select Max.
- Select Continue, then review and confirm.
Cancel a withdrawal
Some withdrawals can be cancelled from History while they are still waiting. When a withdrawal needs a step from you, its status in History is a link to the page that finishes it.Address book
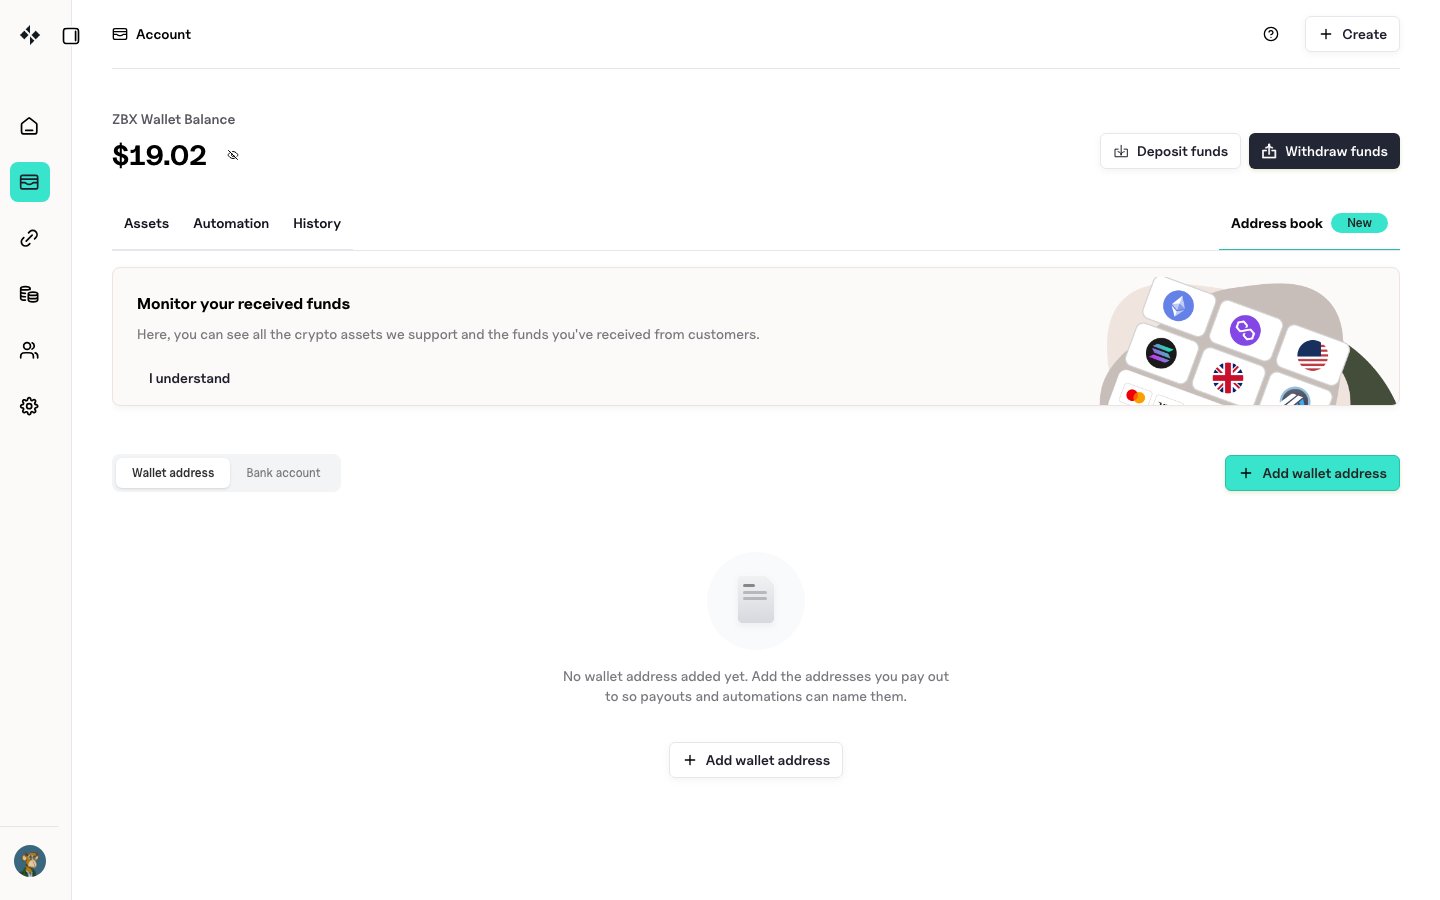
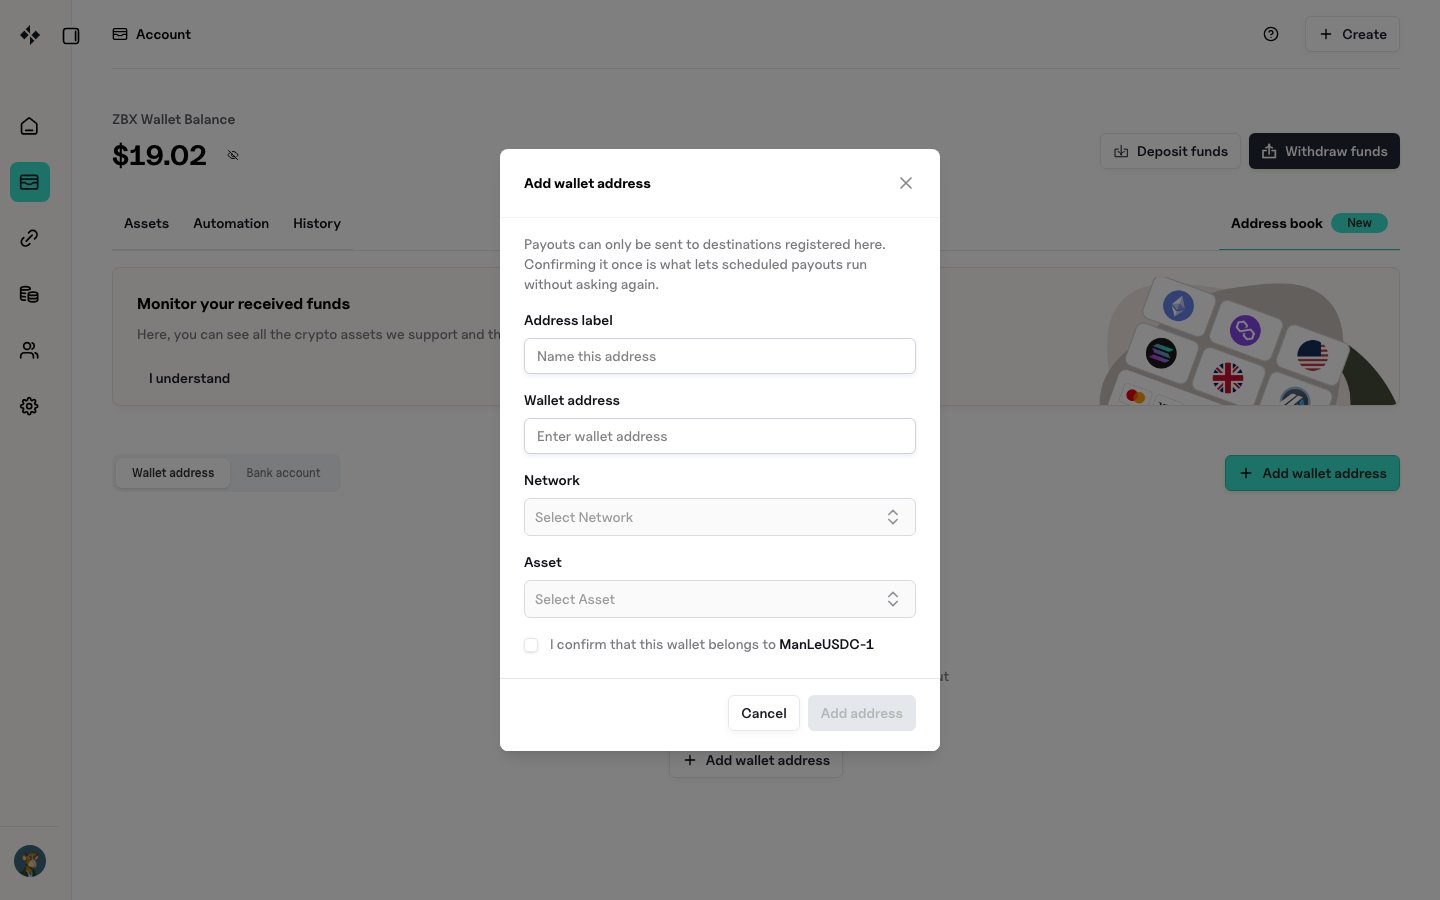
The Address book (top right of the Account page) holds the destinations you pay out to. A destination must be saved here before you can withdraw to it or use it in a payout automation. Saving a destination is the sensitive step. When you save a wallet address or bank account, ZBX emails you a one-time code to confirm it. You do this once per destination. After that, withdrawals and automations use it without asking again. To do the same through the API, see External Account Overview.Wallet addresses
Select Add wallet address and fill in:- Address label: a name you recognise.
- Wallet address.
- Network and Asset.
- A confirmation that the wallet belongs to you.
Bank accounts
The list shows name, bank, country, currency, account number, and account holder. The account number and holder name are partly hidden.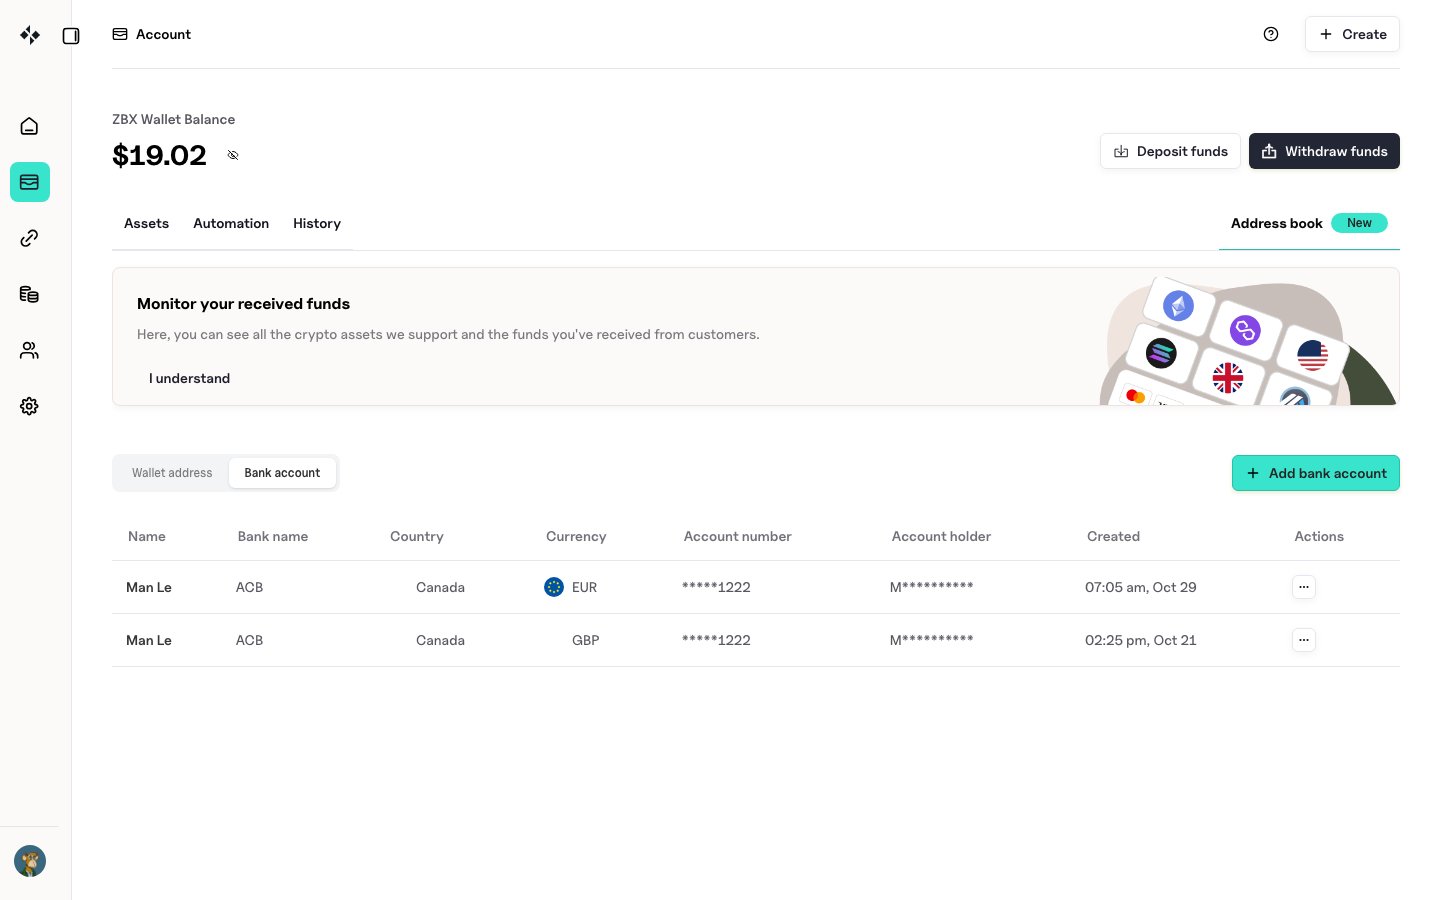
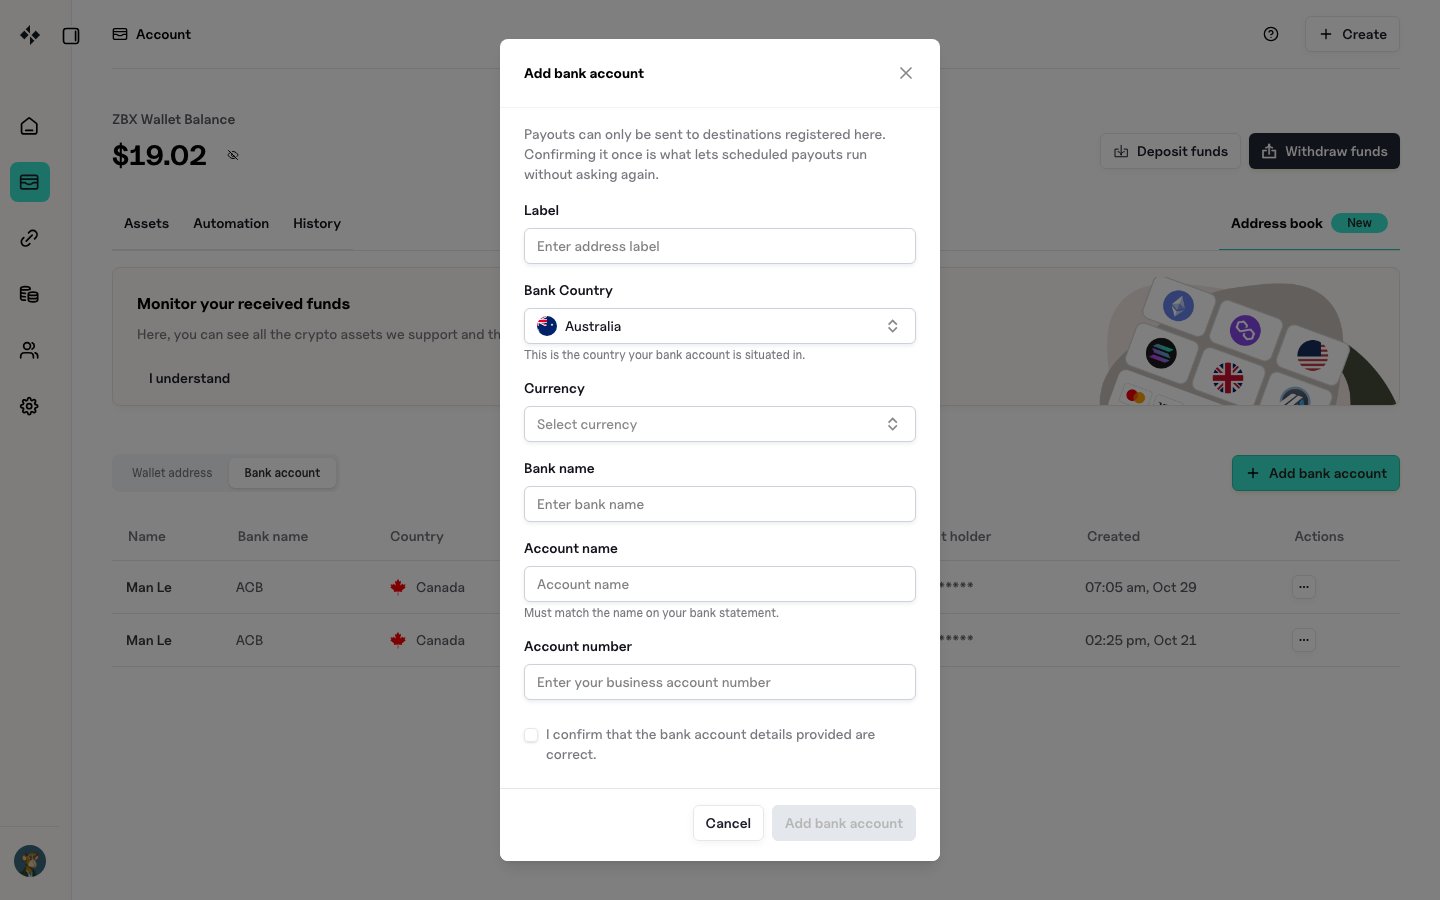
- Label: a name you recognise.
- Bank Country and Currency.
- Bank name.
- Account name: it must match the name on your bank statement.
- Account number.
- A confirmation that the details are correct.
History
The History tab has two lists.Deposits and withdrawals
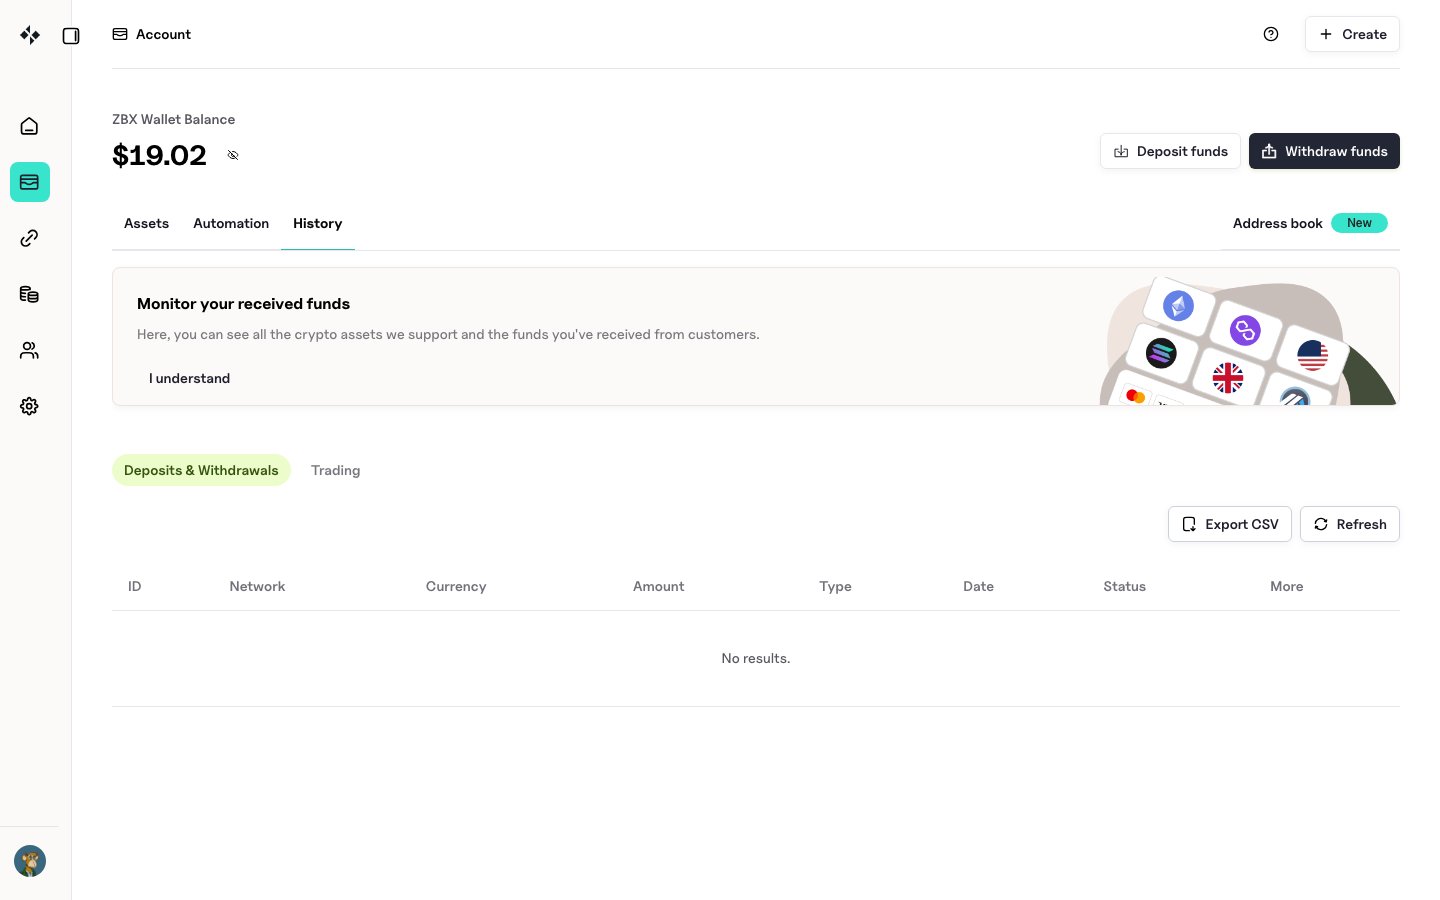
Use Export CSV to download the list and Refresh to load the latest entries.
Trading
Swaps appear here, whether you ran them by hand or an automation ran them.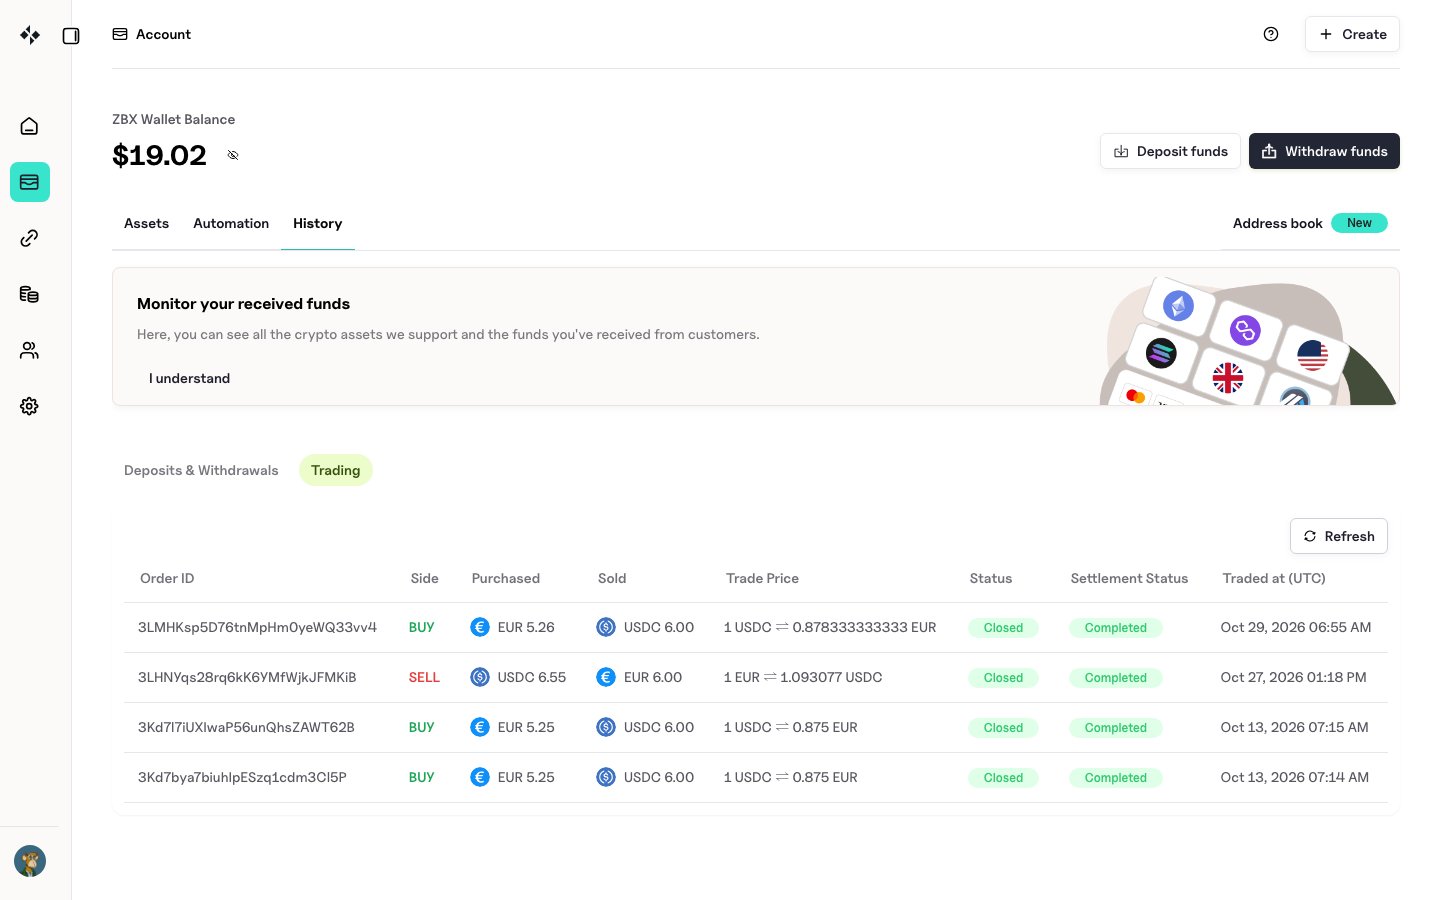
Automation
Account automation runs a task for you on a schedule, so you do not log in to pay out, convert, or check a balance each time. Every automation has three parts:- An action: pay out, swap, sweep, or send an alert.
- A condition: the balance the account must reach first, for example “when my USDC balance is at least 1,000”.
- A schedule: how often the account checks the condition, for example “every day”.
The four actions
Create an automation
This walkthrough creates an Alert, because it is the simplest action and moves no funds. The other actions work the same way; only the fields in step 4 differ.-
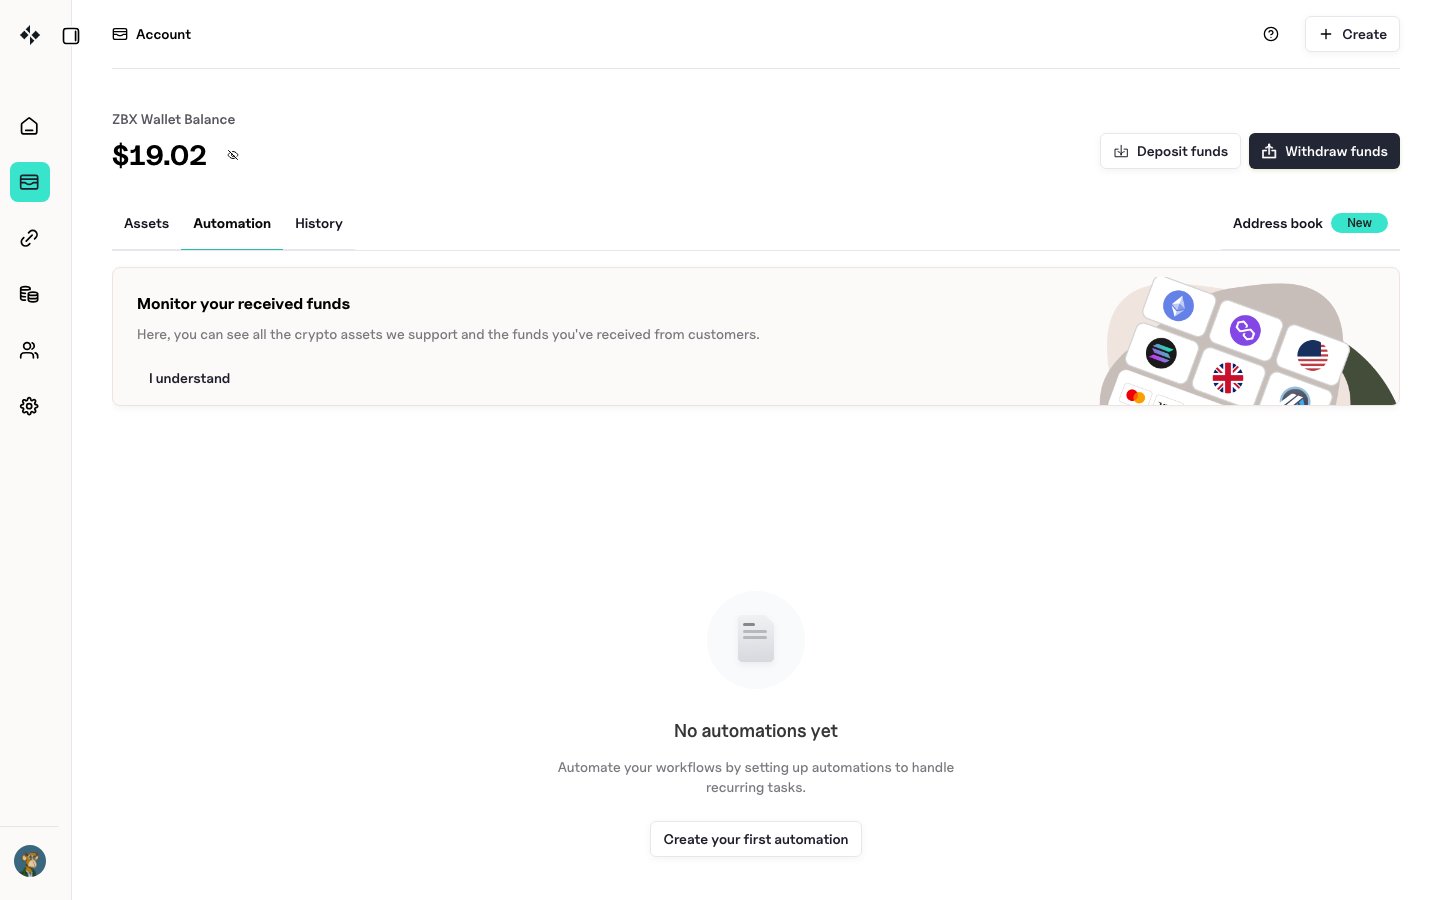
Open the Automation tab. Select Create your first automation, or New automation if you already have some.
-
Choose a template, or select Start from scratch.
 A template fills in starting values. You can change every value before you save.
-
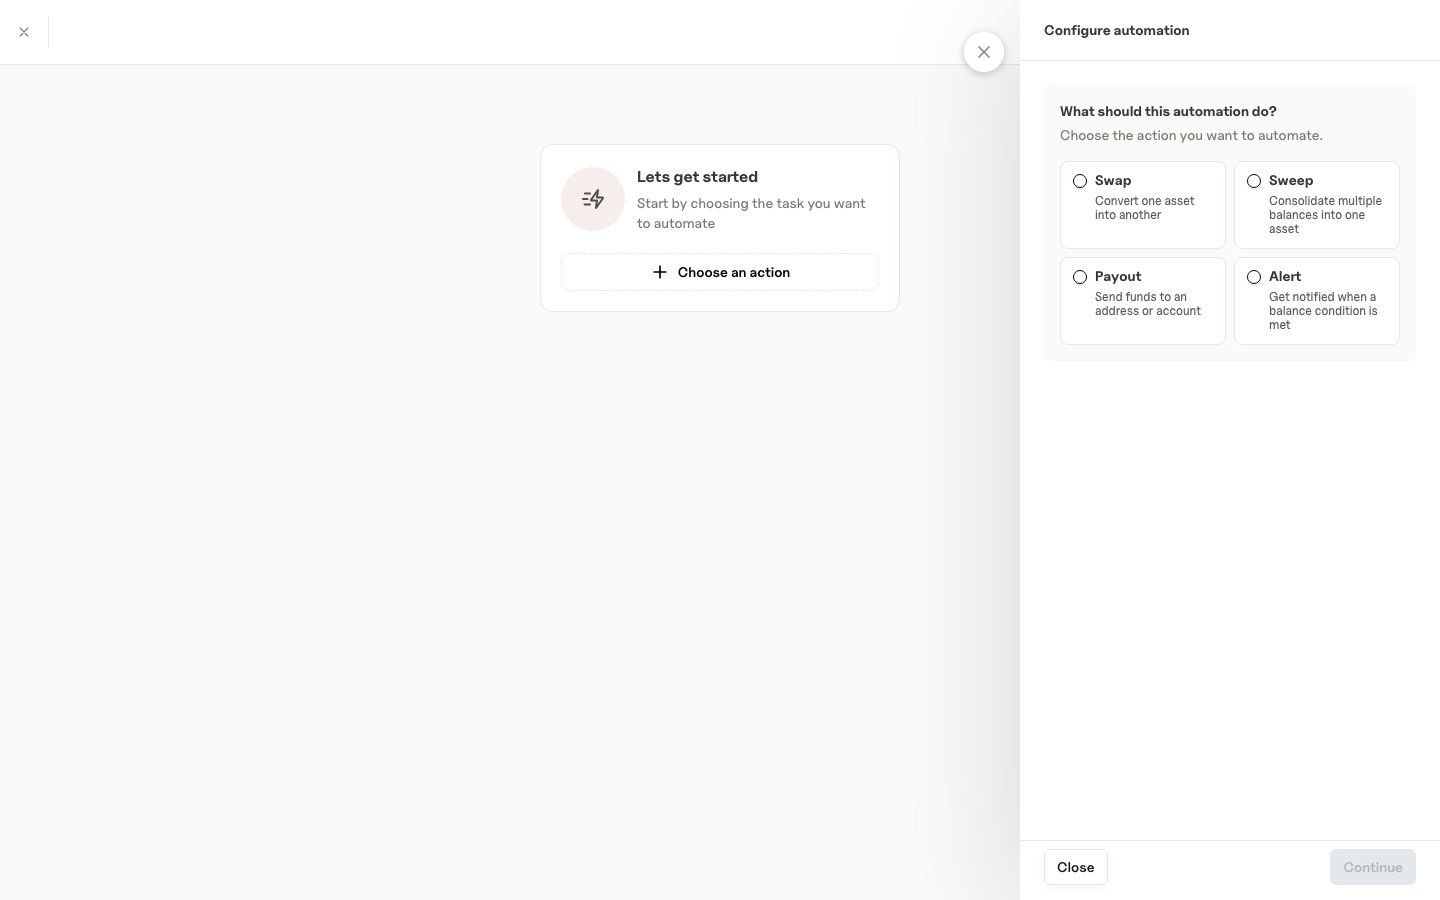
Select Choose an action and pick Swap, Sweep, Payout, or Alert.
-
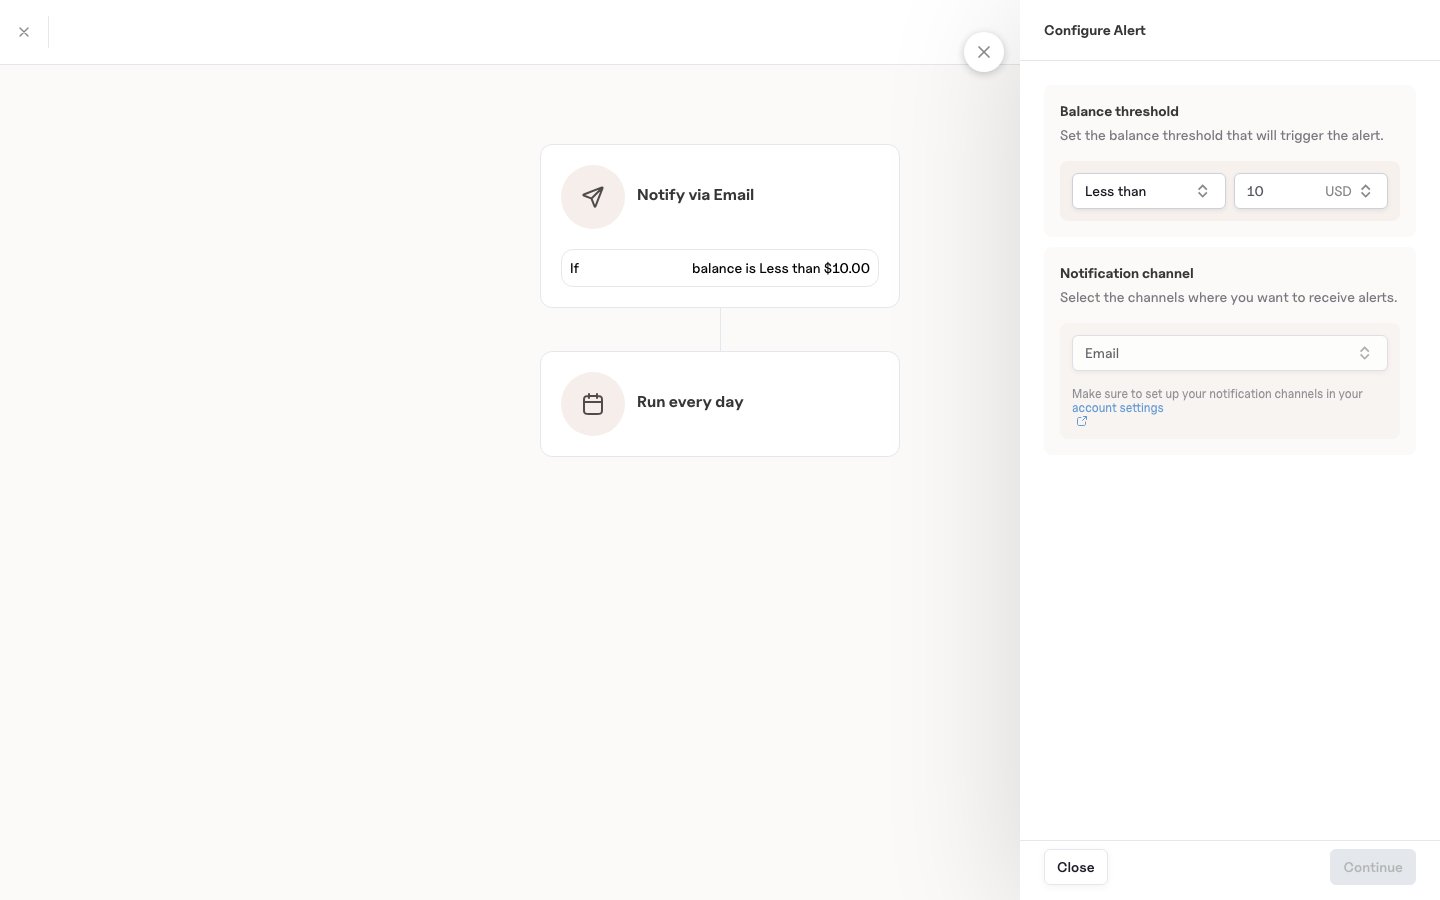
Set up the action and the condition. For an Alert, set a Balance threshold (a comparison, an amount, and a currency) and a Notification channel (Email, Webhook, or both). Select Continue.
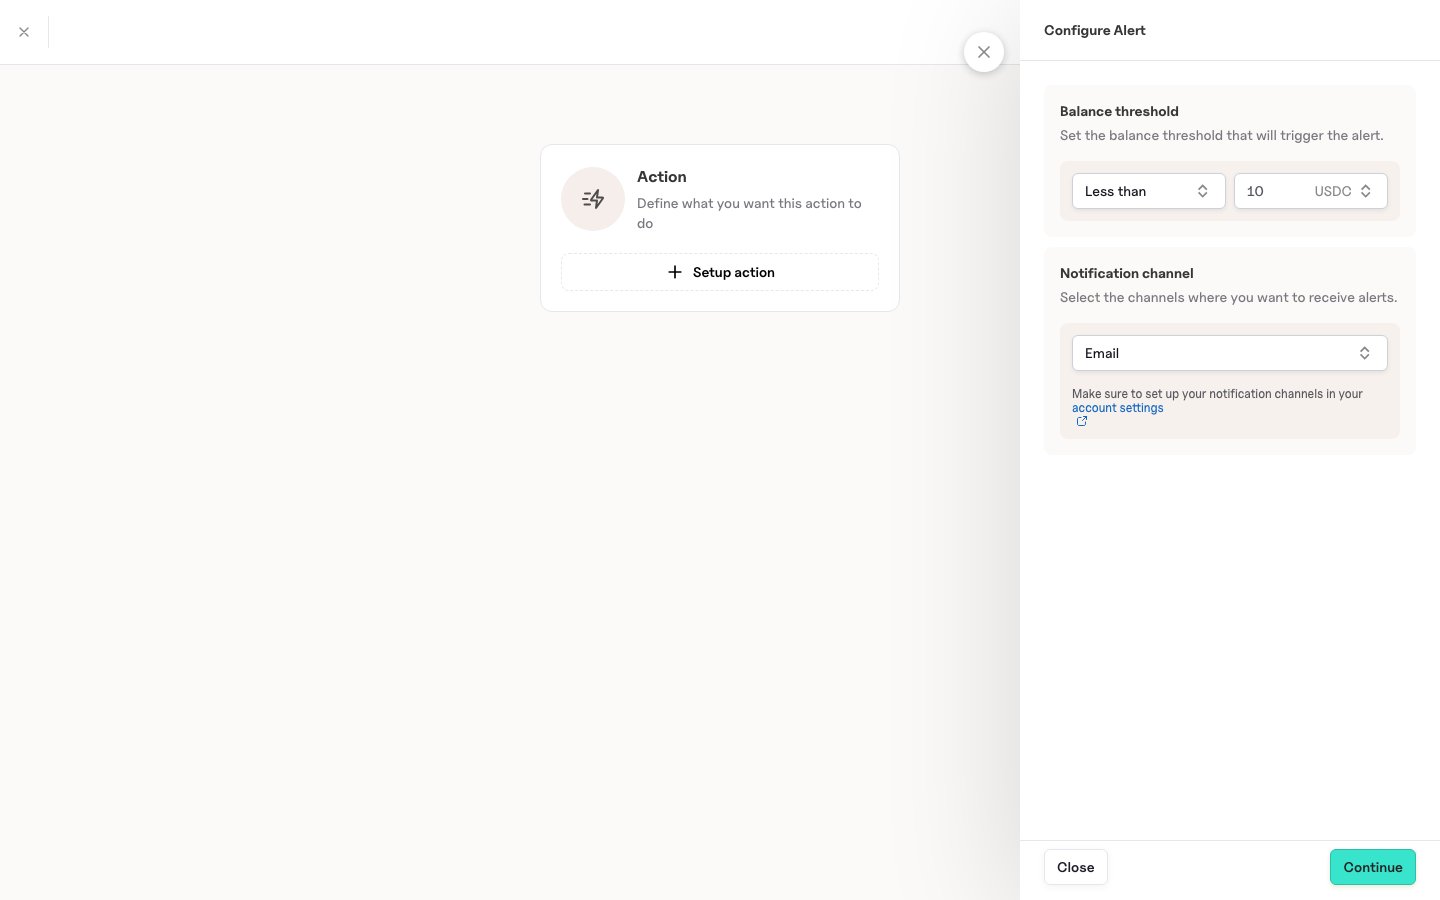
-
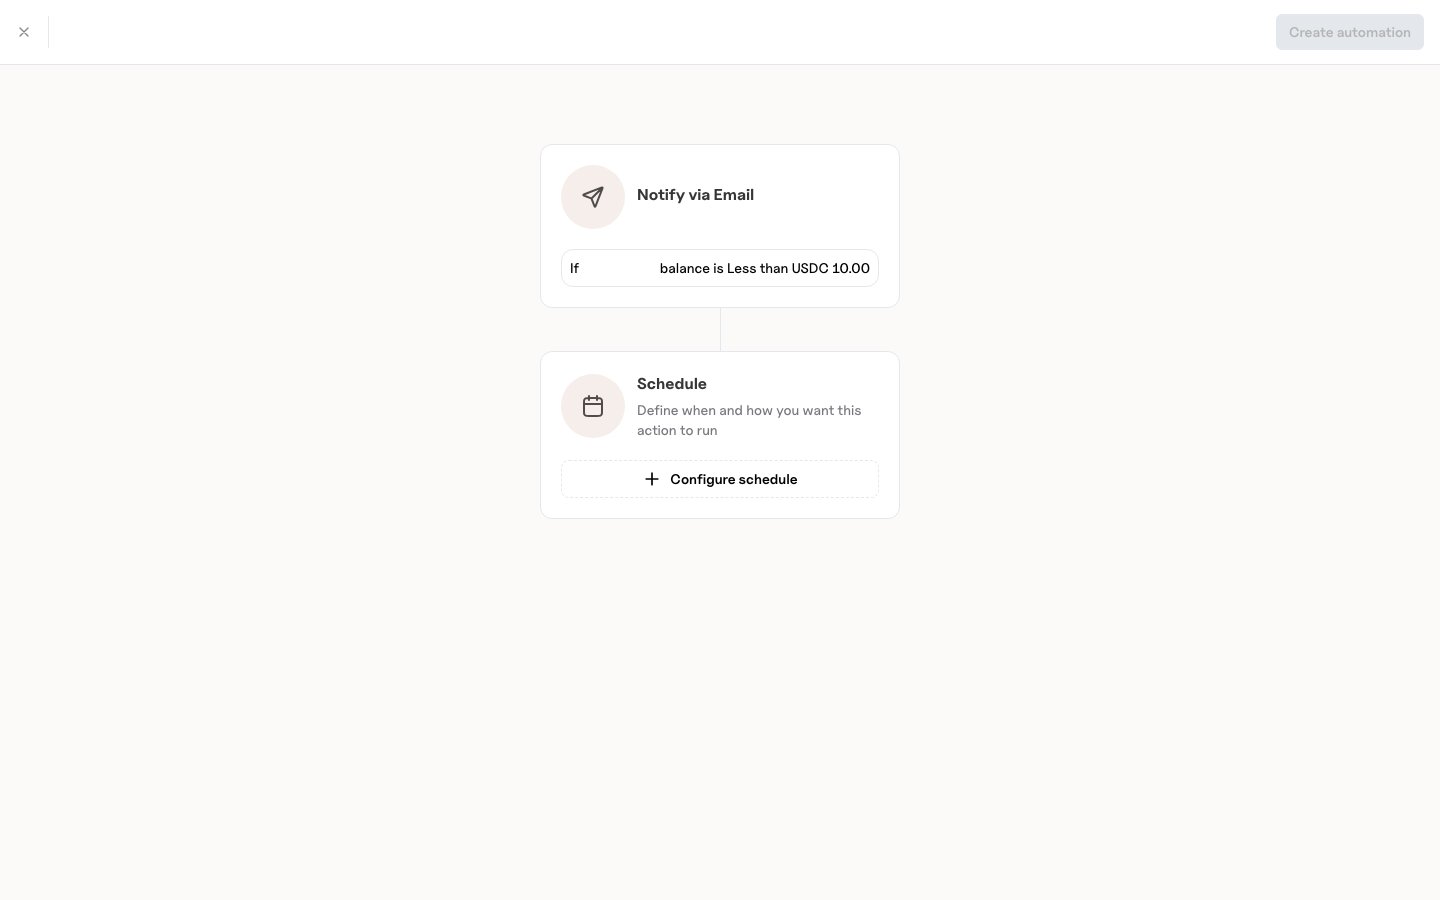
Under Schedule, select Configure schedule. In Run every, choose a number from 1 to 5 and a period: Hour, Day, Week, Month, or Year. Select Continue.
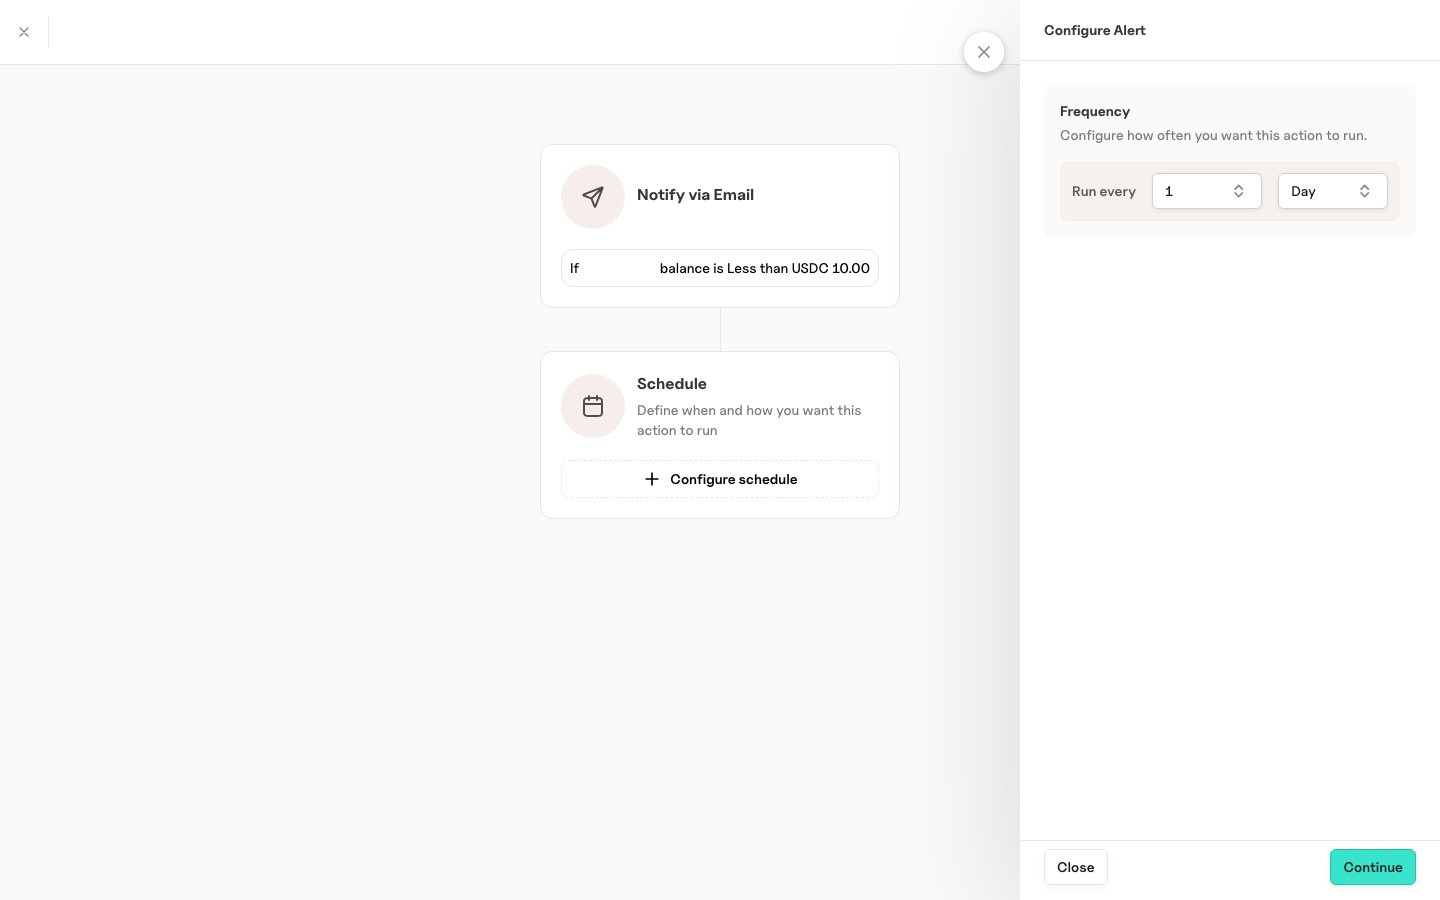
-
Select Create automation at the top right.
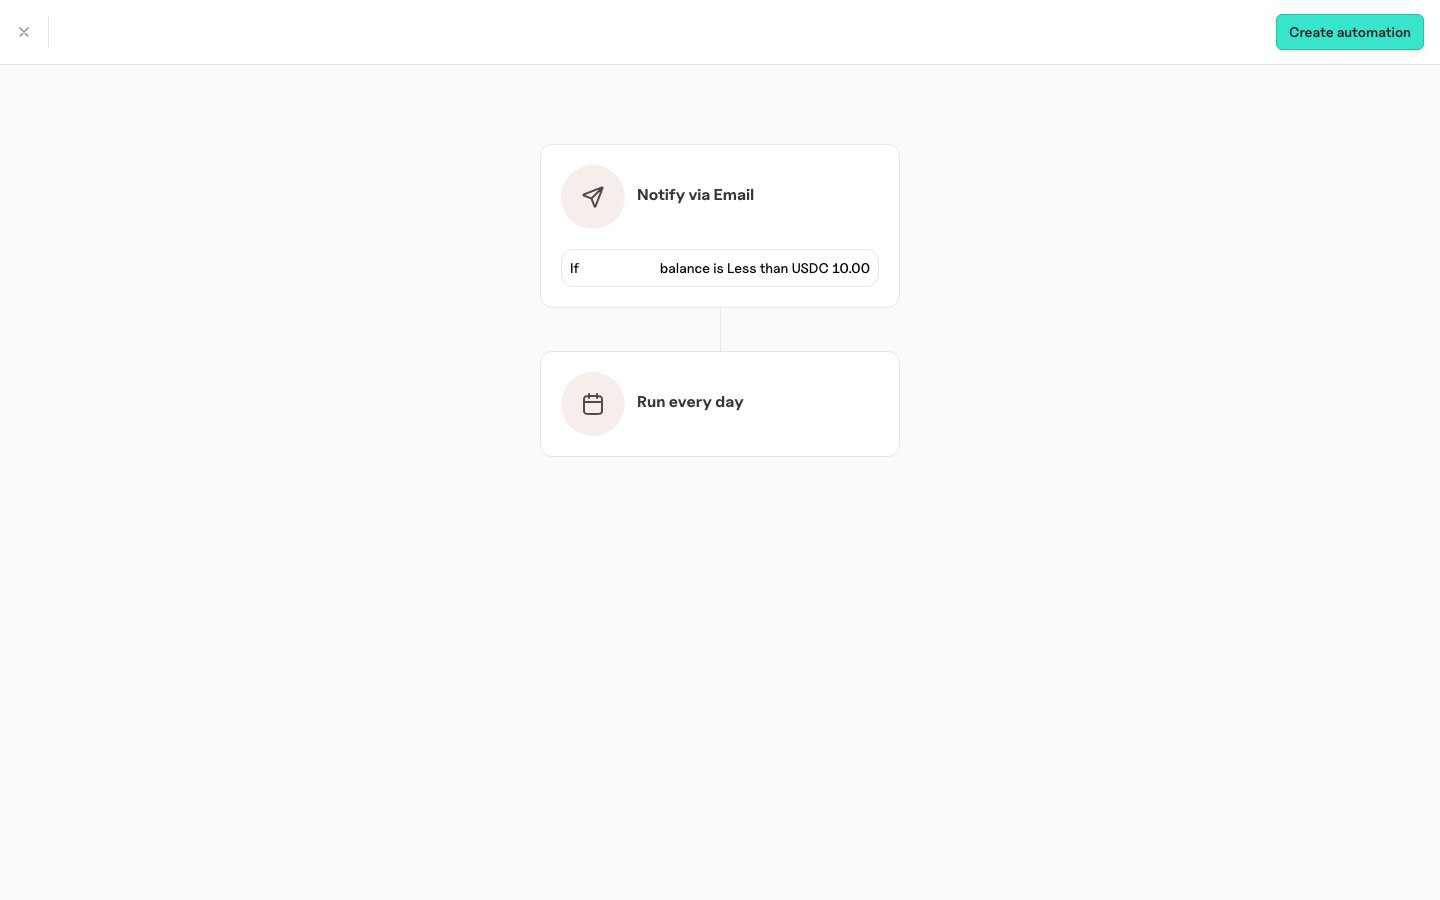
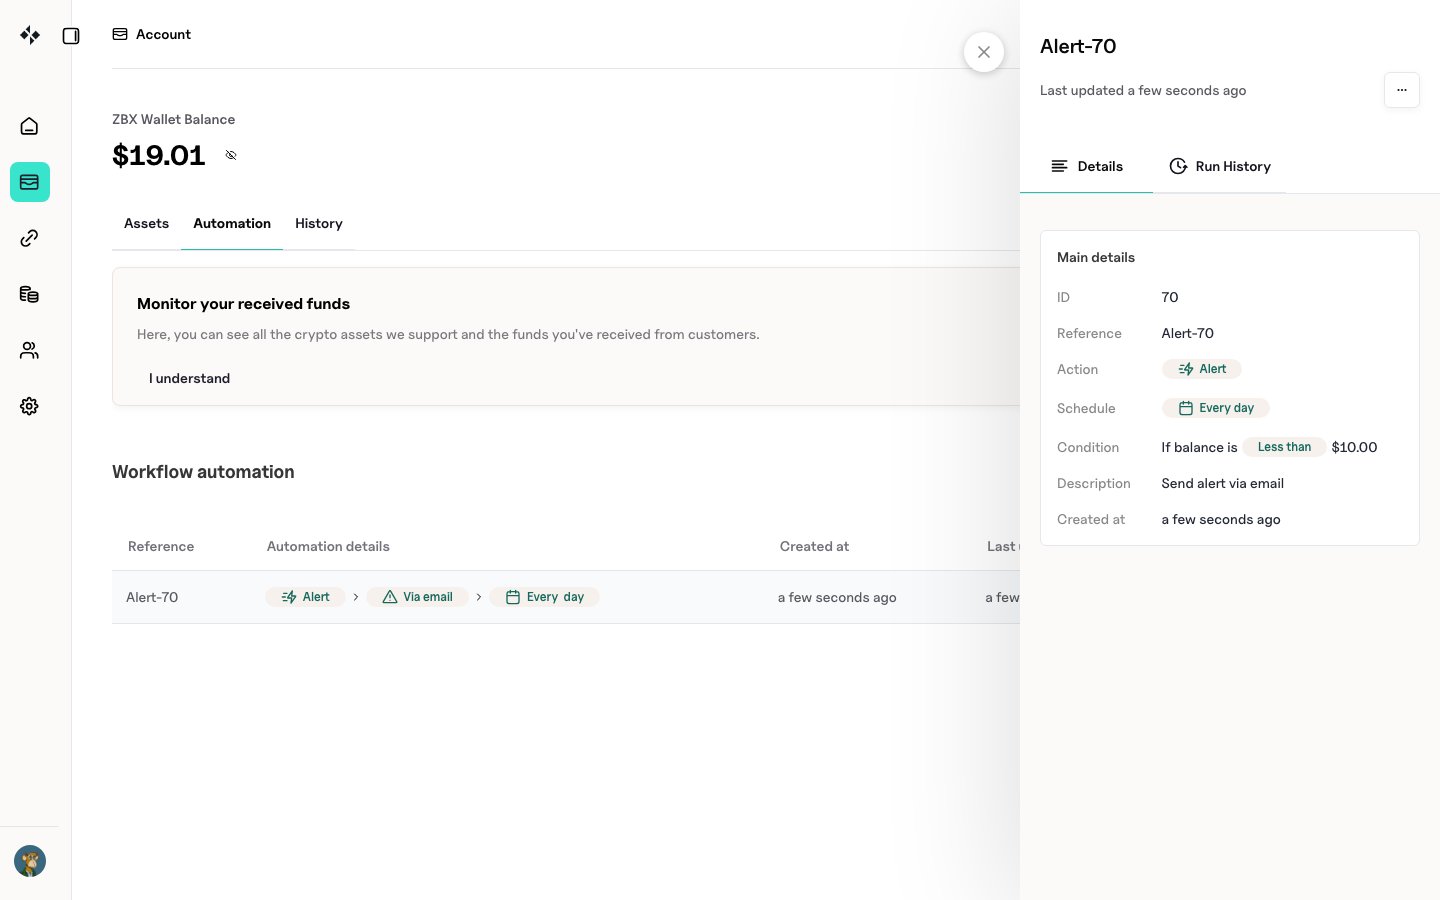
Alert-70.
If Continue stays disabled after you fill in every field, re-select the comparison or the currency once to refresh the form.
Settings for each action
Payout
A Payout sends a fixed amount to a destination you saved, whenever the condition is met.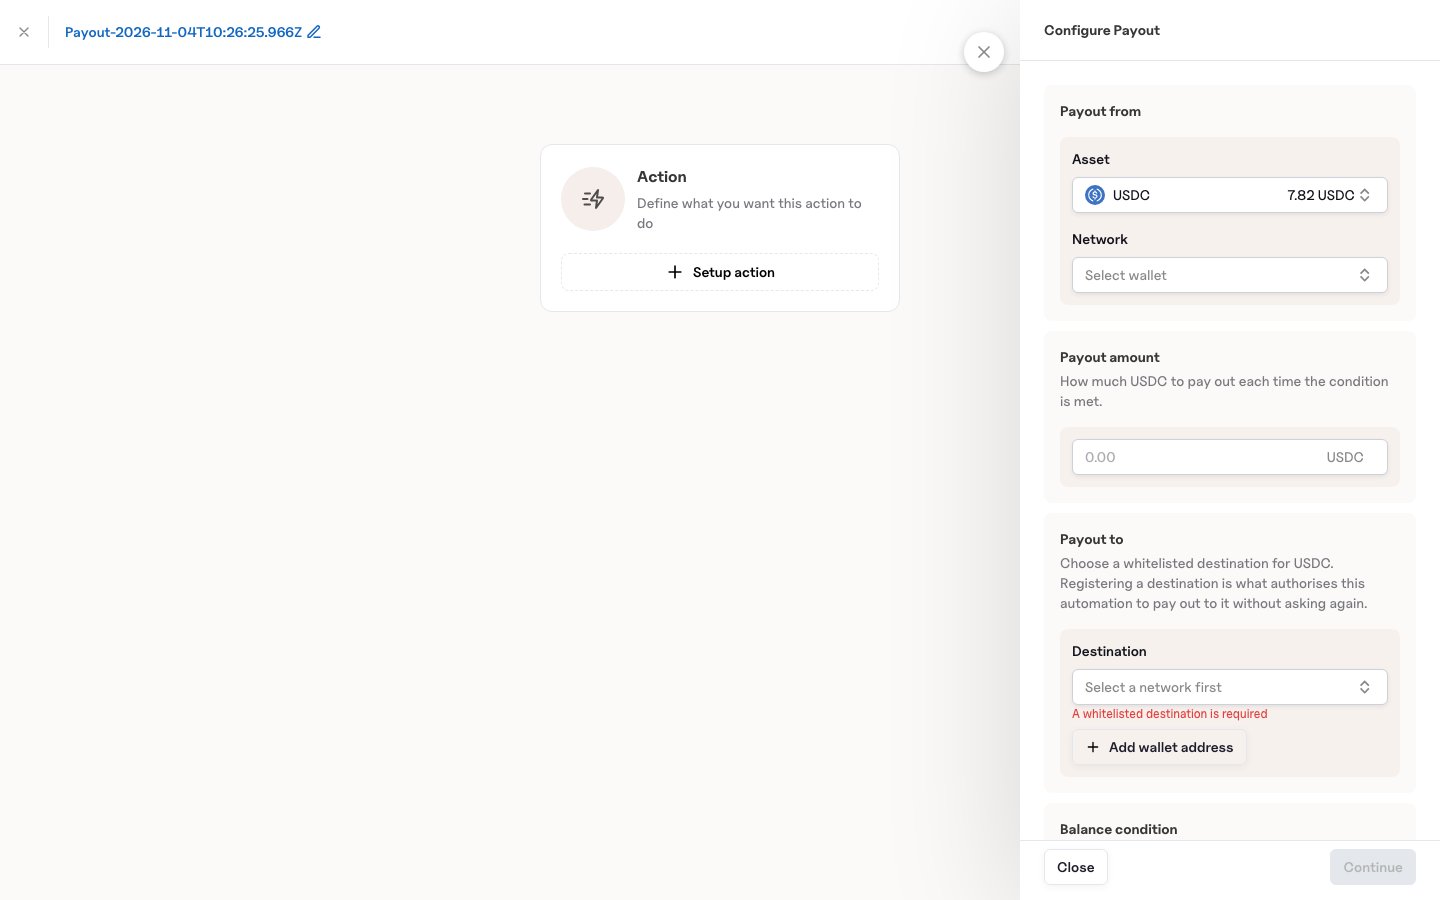
The destination must already be saved in the Address book. You cannot type a new address into the automation. Saving it is where the one-time email confirmation happens, and the automation inherits it. If you delete a destination, automations that pay out to it can no longer send funds.
Sweep
A Sweep gathers your balances into one asset.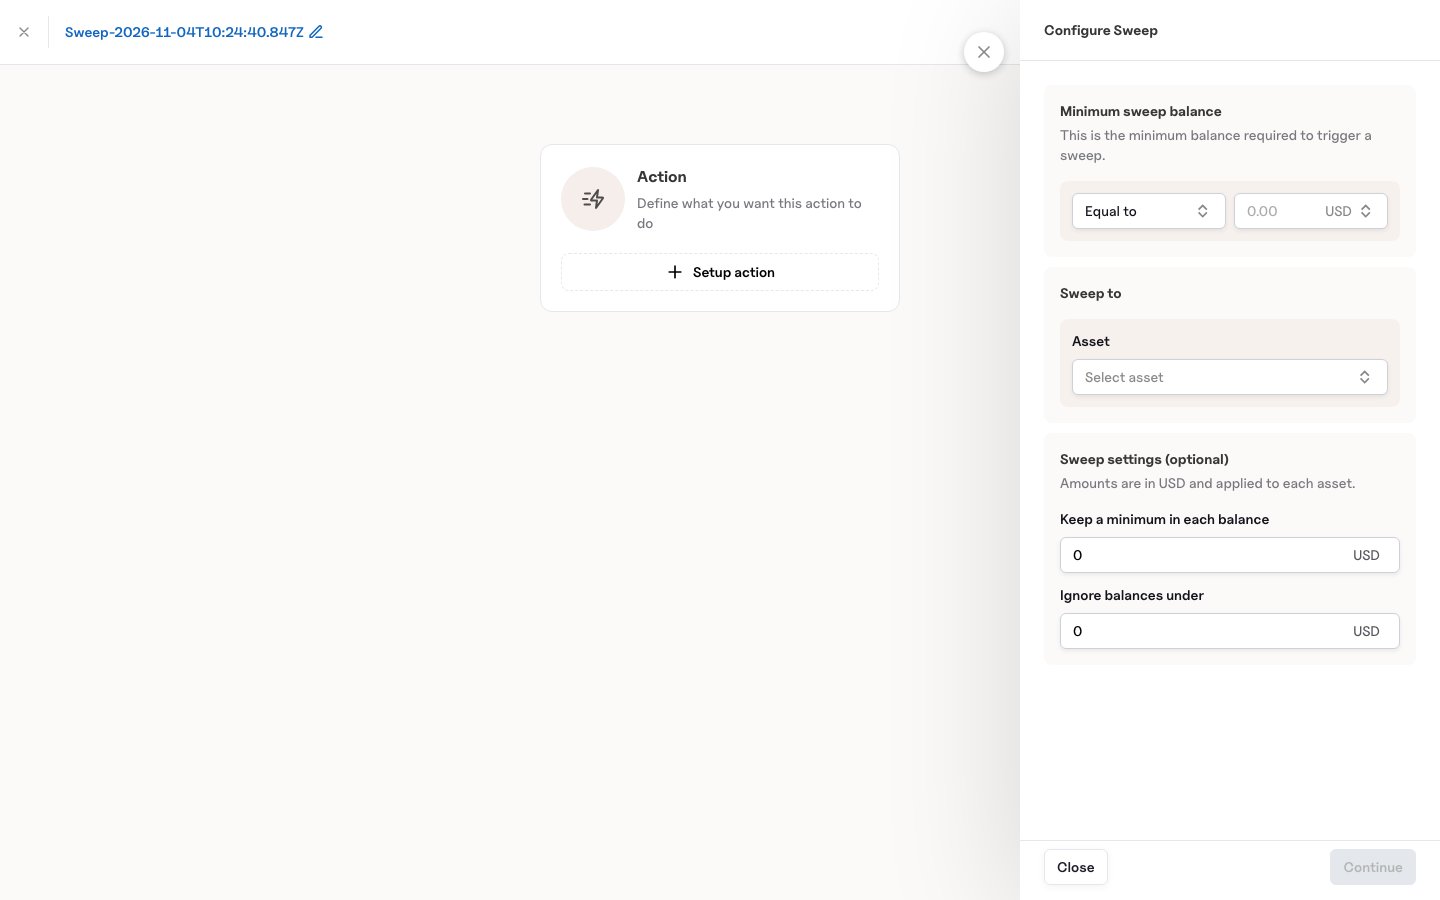
Swap
A Swap converts one asset into another.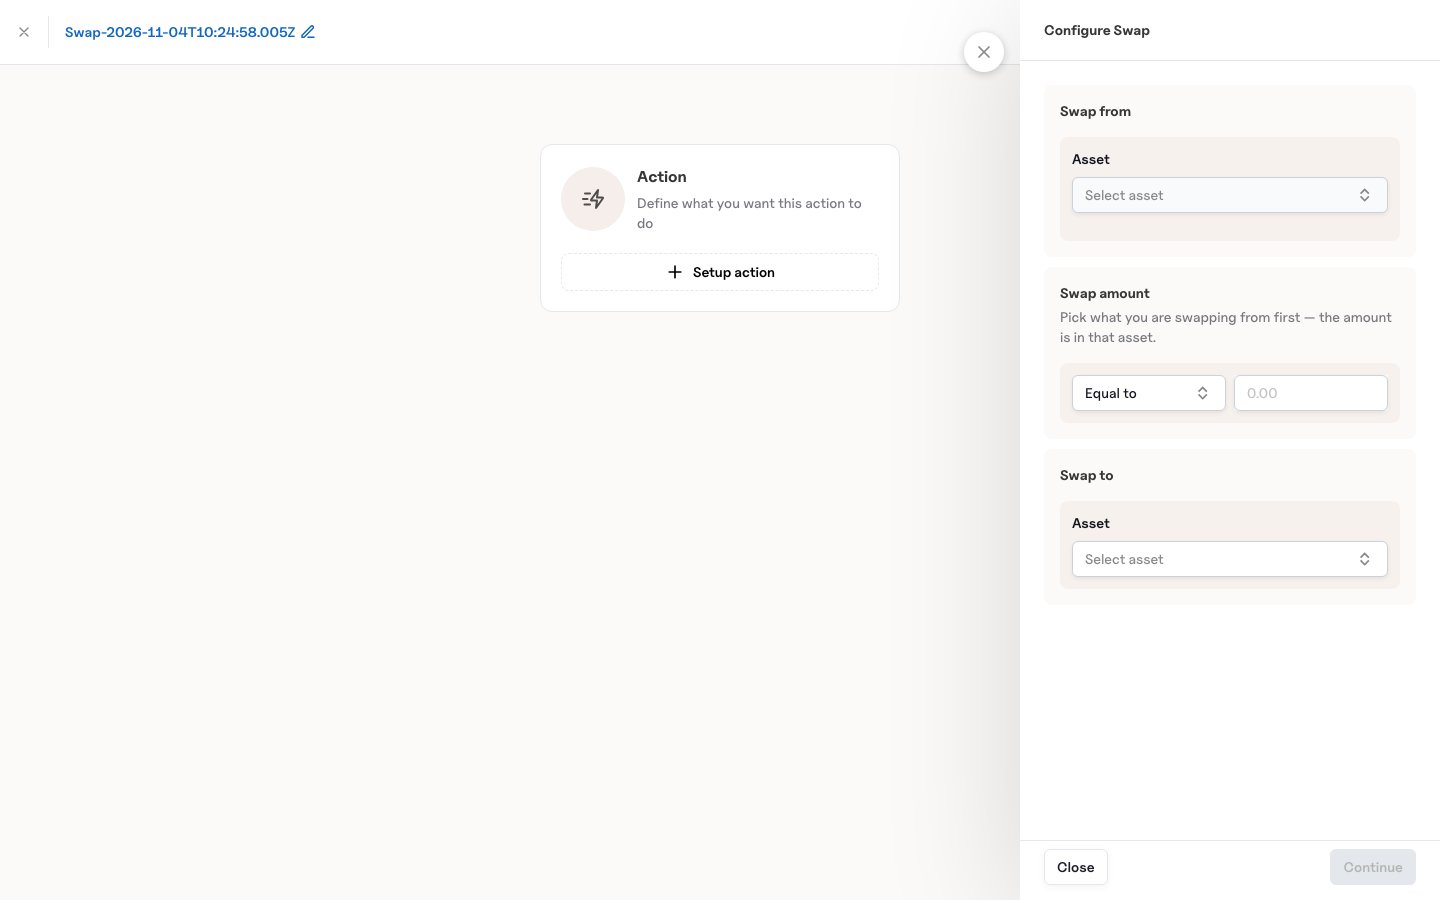
Alert
An Alert sends a message and moves no funds. Its fields are a Balance threshold and one or more Notification channels, as in the walkthrough above. Set up your notification channels in your account settings first.Example use cases
Pay out when the balance reaches a target- Trigger: USDC balance is greater than or equal to 1,000, checked every day.
- Action: Payout 500 USDC to your saved treasury wallet.
- Outcome: Each day the balance is at least 1,000 USDC, 500 USDC goes to your wallet. The wallet must already be in the Address book.
- Trigger: Every 1 week.
- Action: Sweep your balances into USDC. Use Ignore balances under to skip tiny balances.
- Outcome: Once a week your balances are gathered into one USDC balance. The Consolidate to a stablecoin template sets this up.
- Trigger: ETH balance is greater than or equal to 2, checked every day.
- Action: Swap 2 ETH into USDC.
- Outcome: When you hold at least 2 ETH, 2 ETH is converted into USDC.
- Trigger: USDC balance is less than 100, checked every hour.
- Action: Alert by email, and by webhook if you want.
- Outcome: You are told when the balance runs low. No funds move.
Manage automations
The Automation tab lists every automation.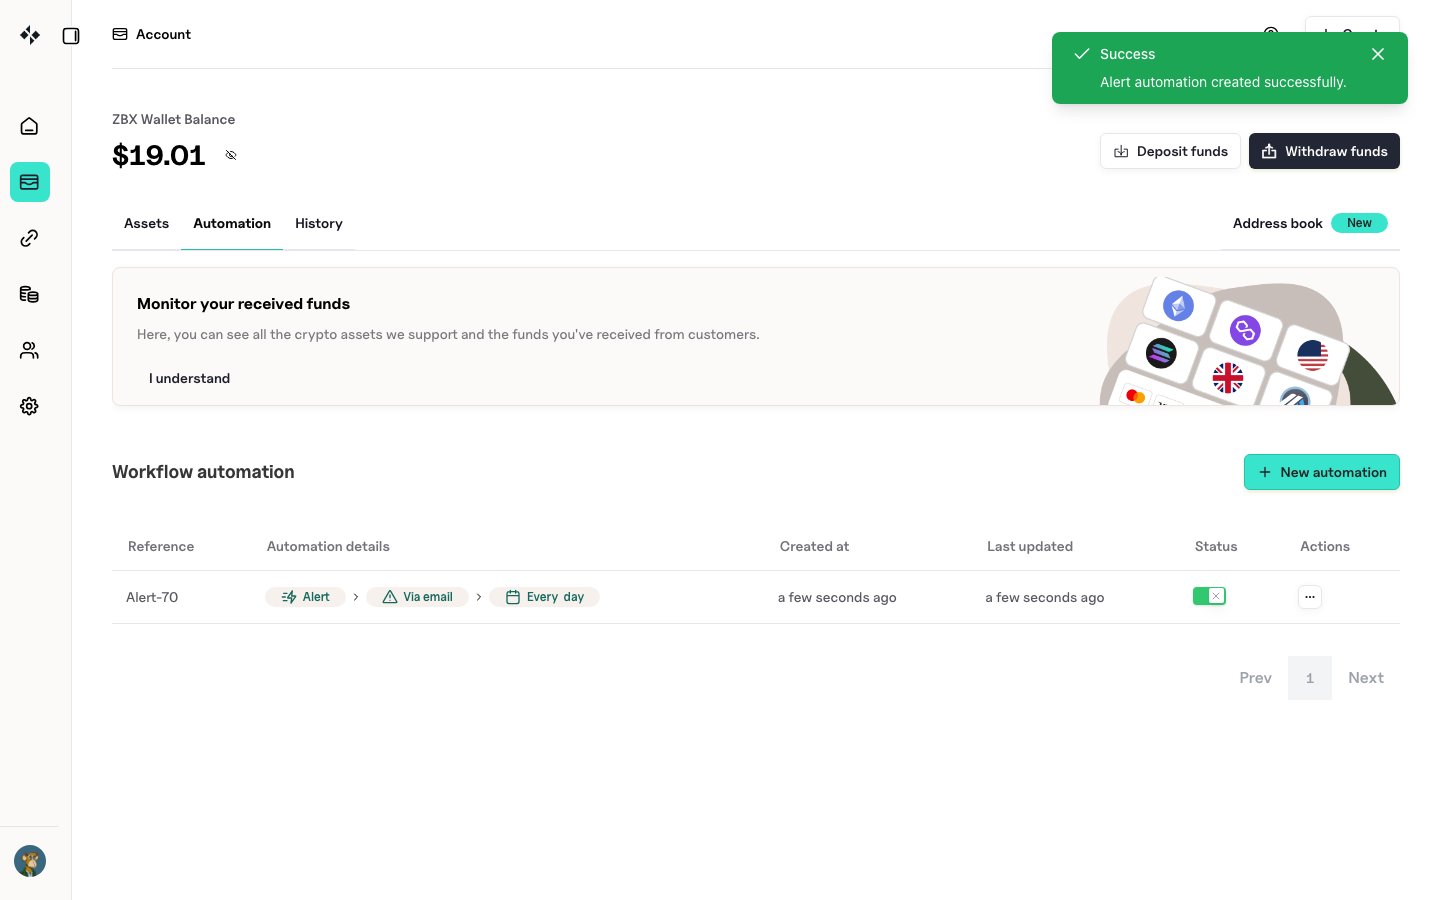
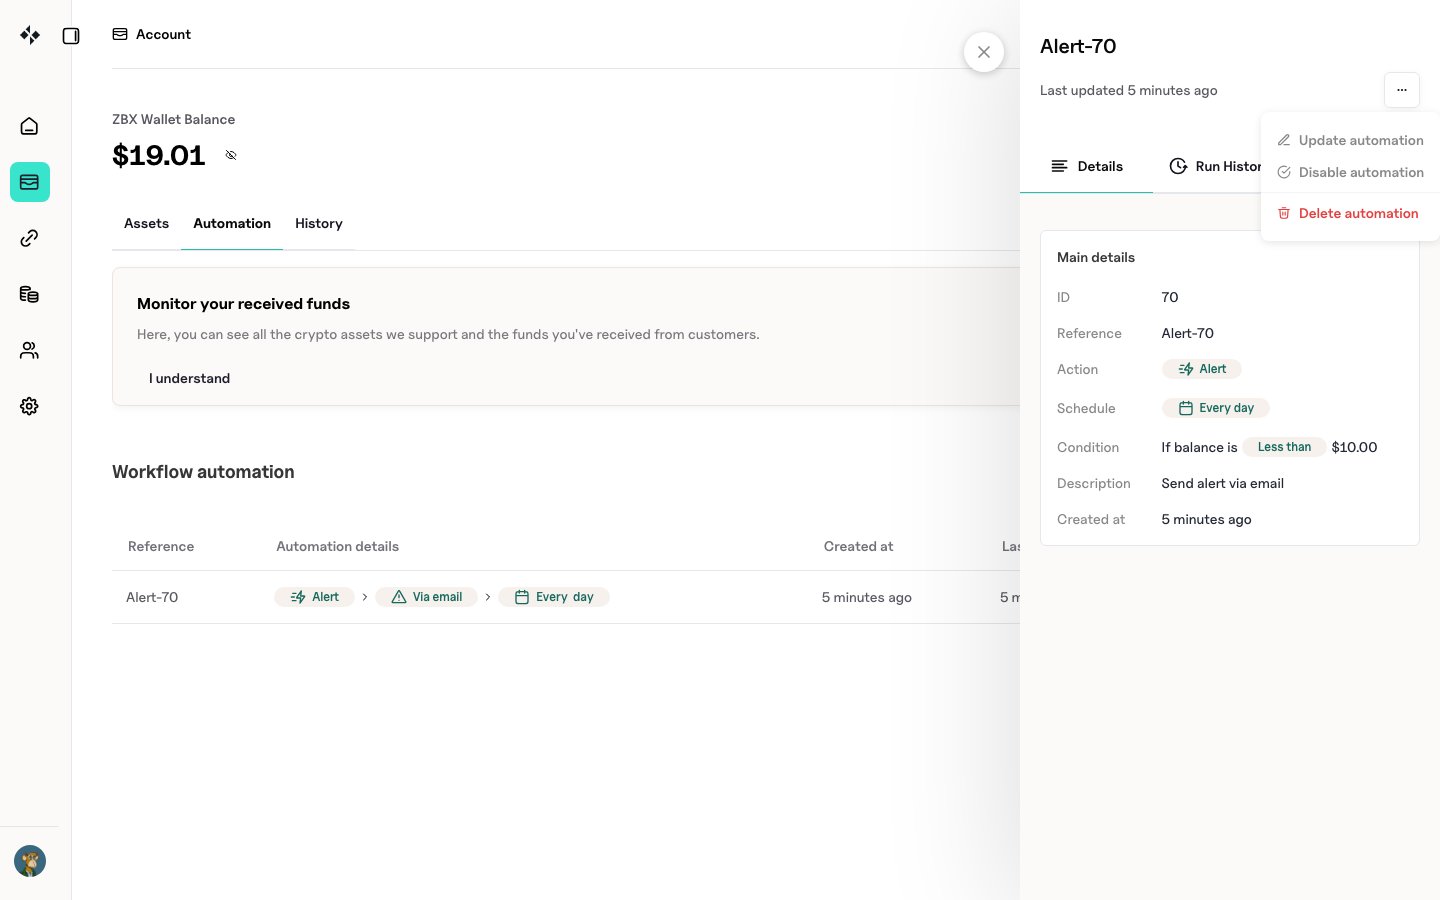
Select a row to open its details. Details shows the action, schedule, and condition. Run History shows past runs. After saving, balance thresholds are shown in US dollars: in the example, “10 USDC” appears as $10.00.
What you can change
An update can never redirect where funds go. To change the asset, amount, or destination, delete the automation and create a new one.